|
|
||
01/06/07 |
    
|
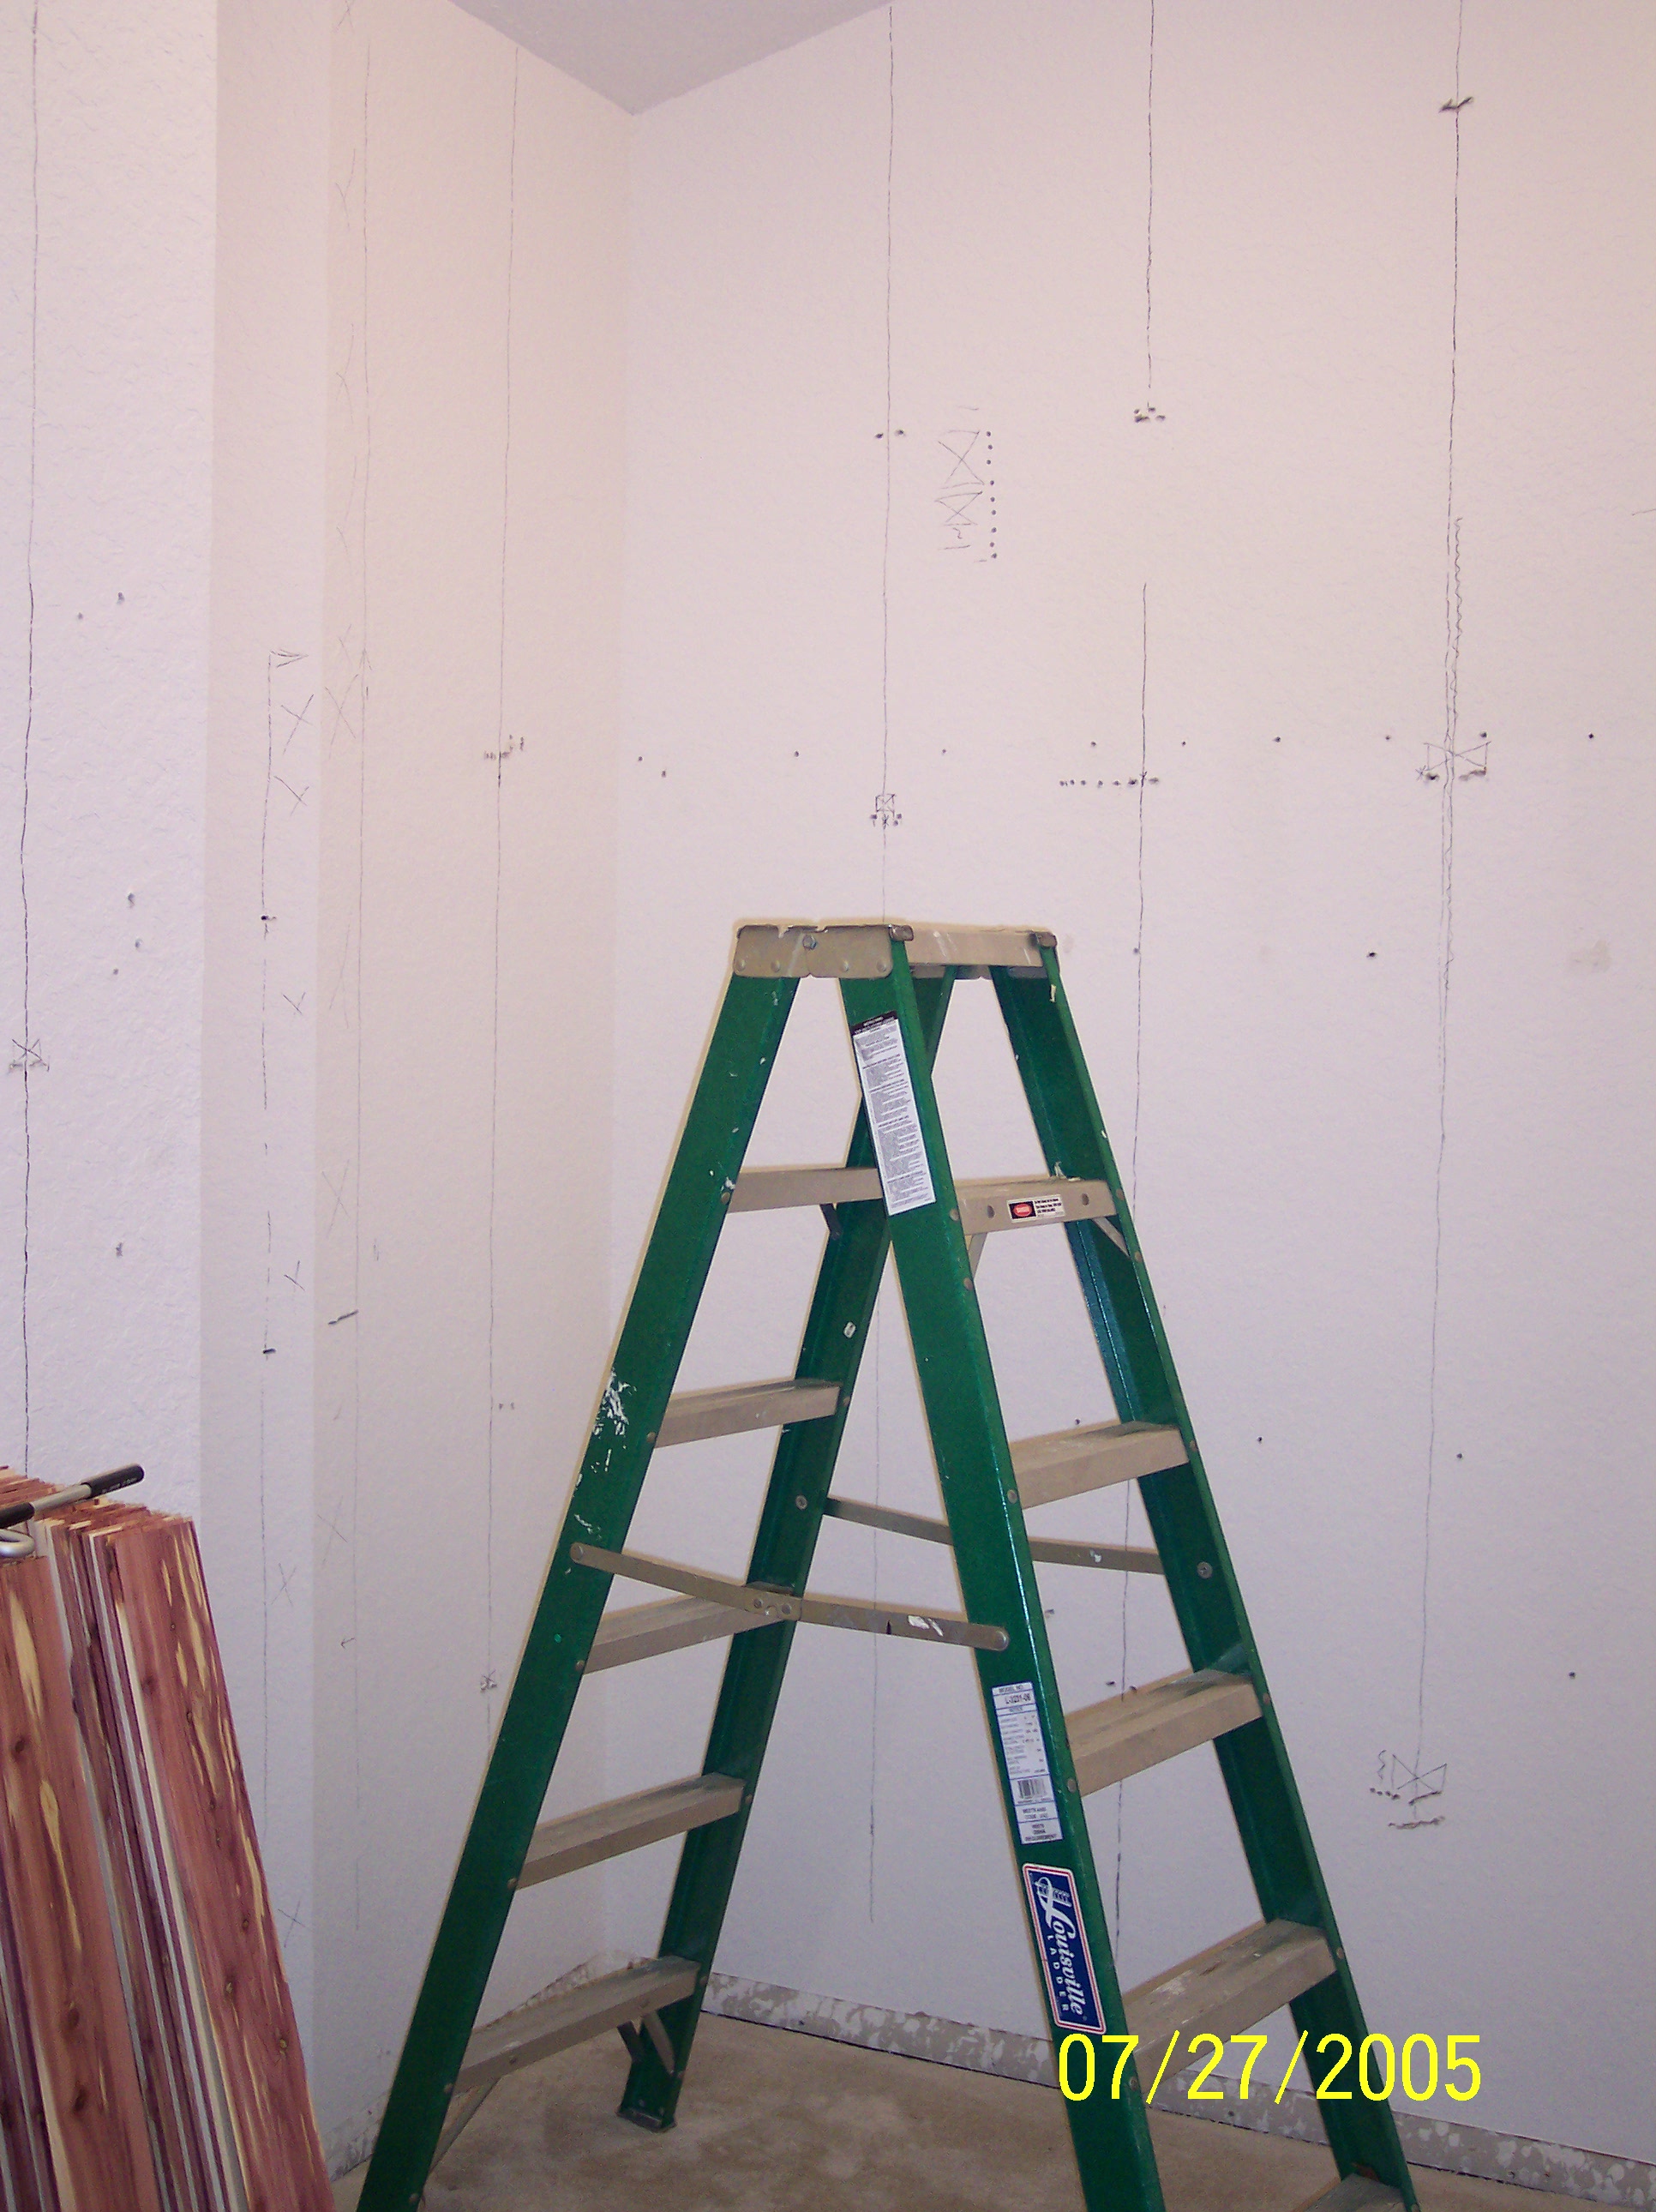
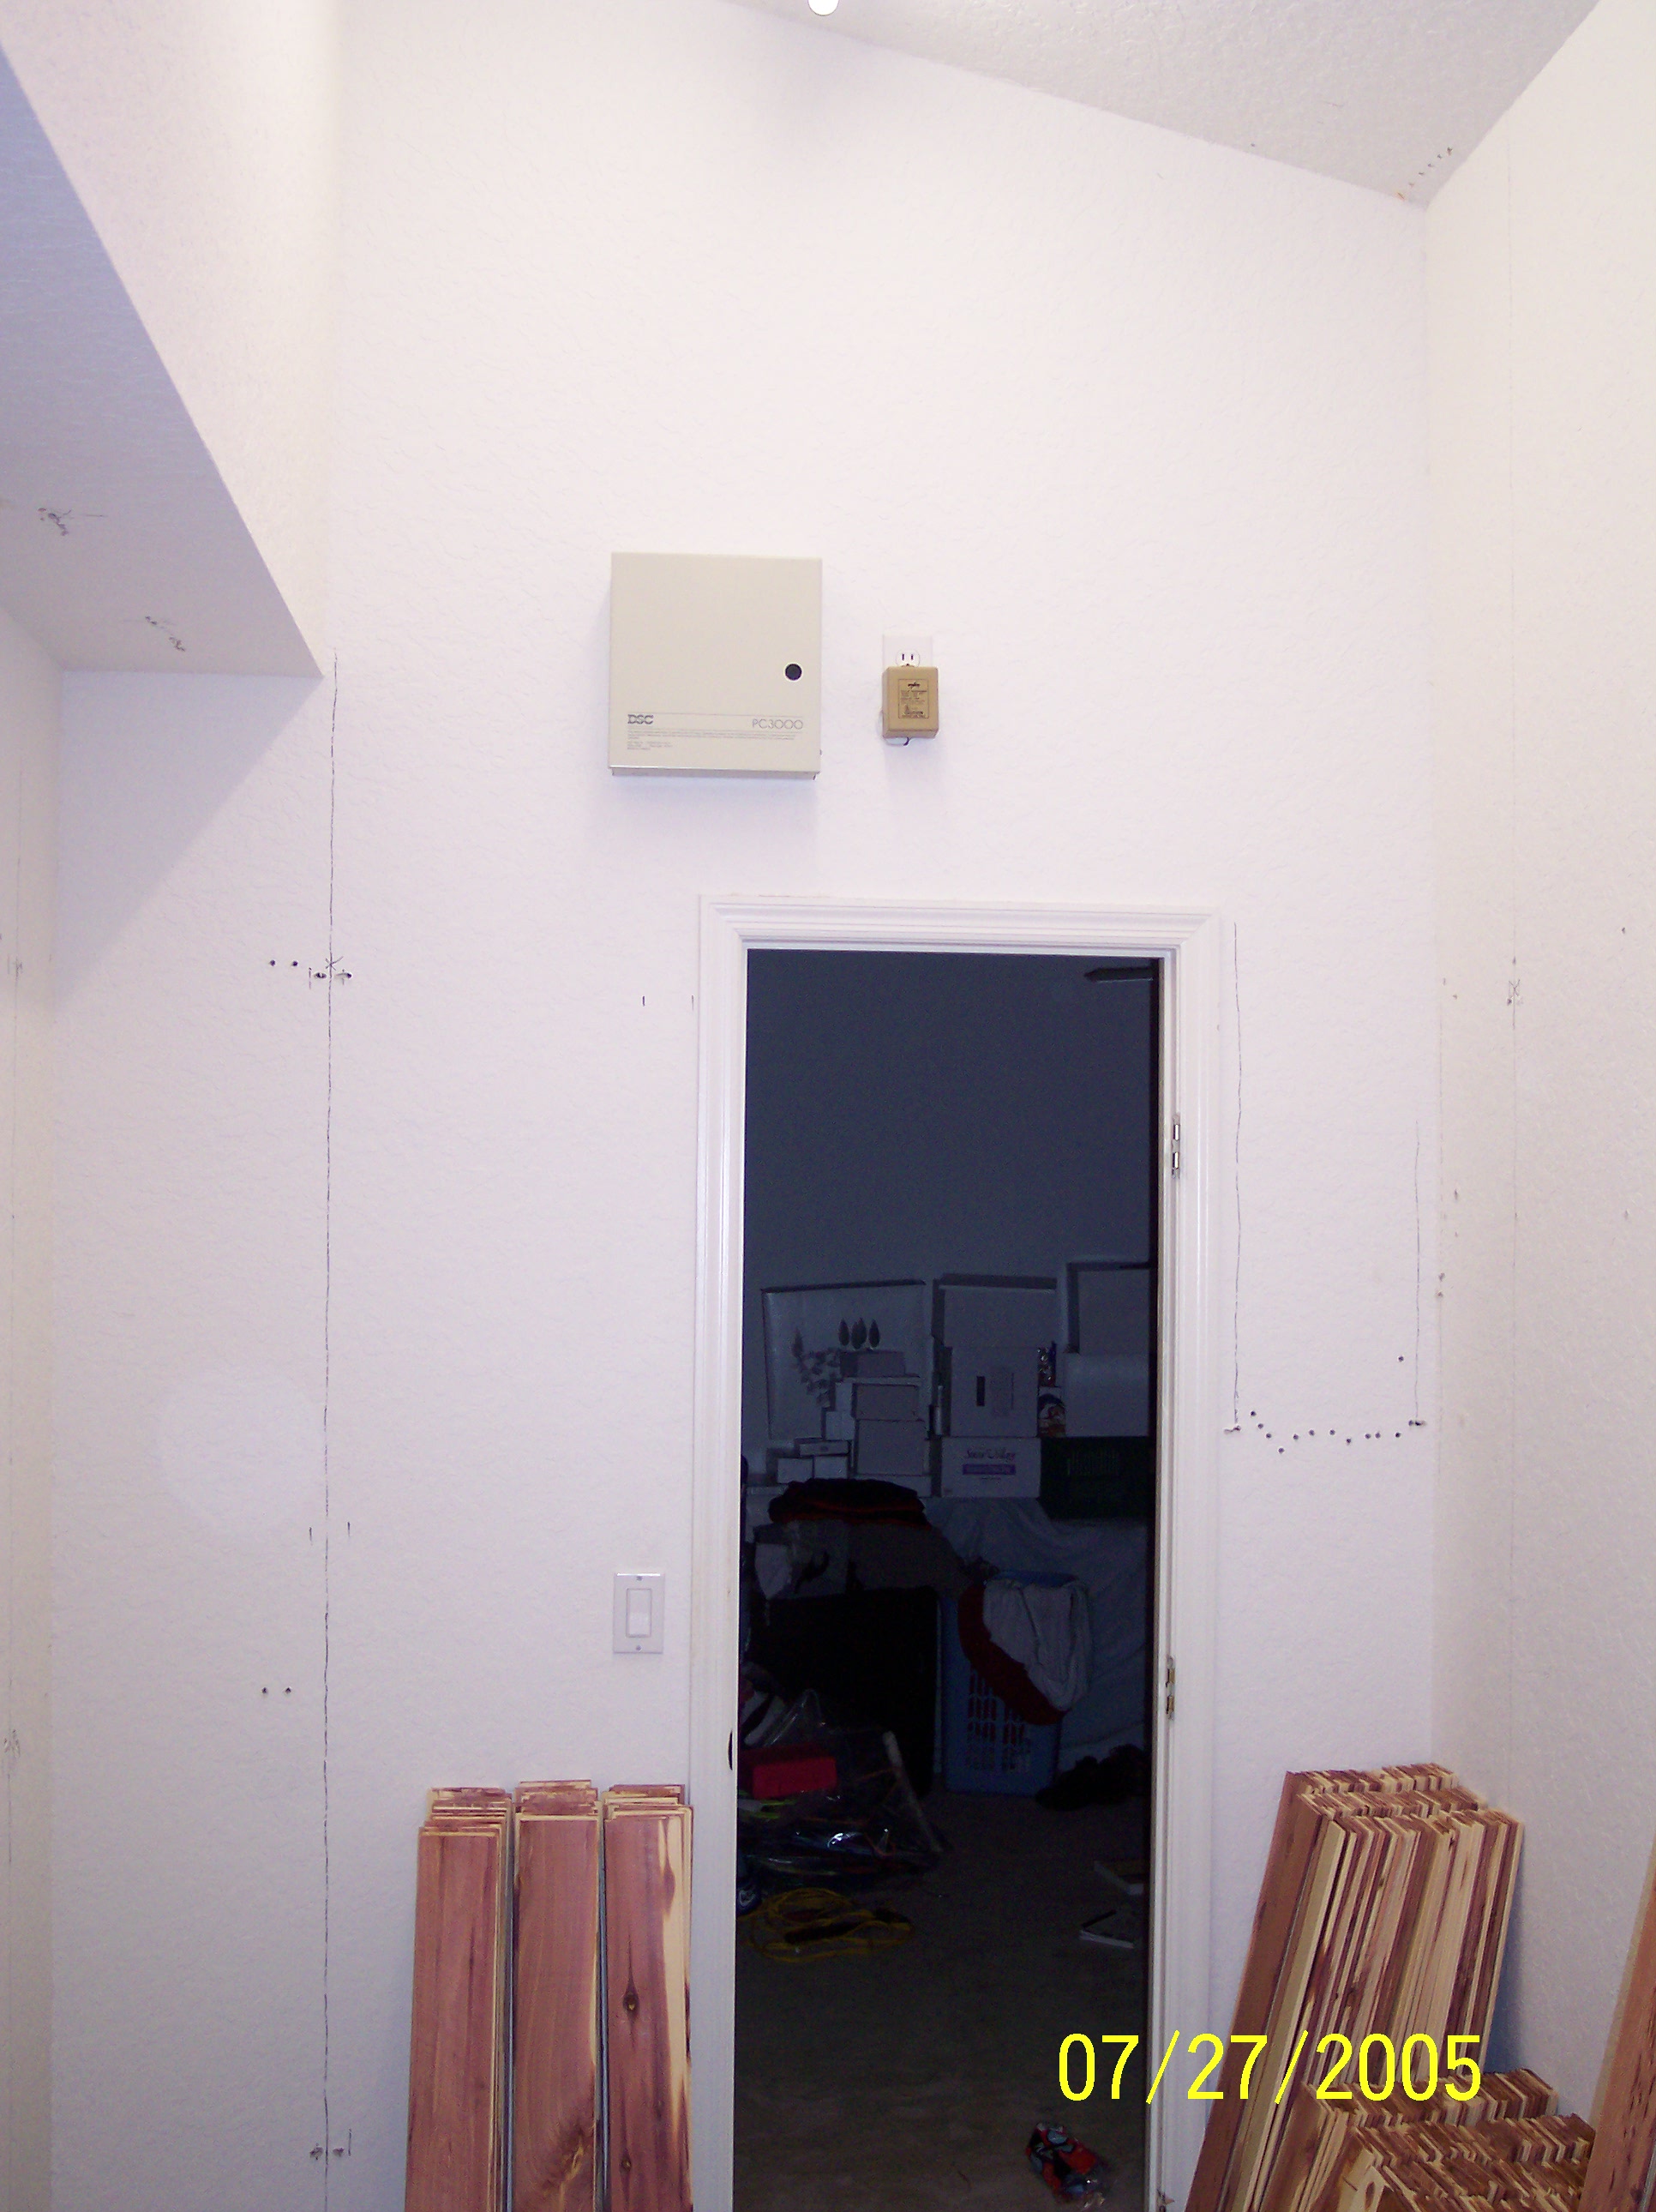
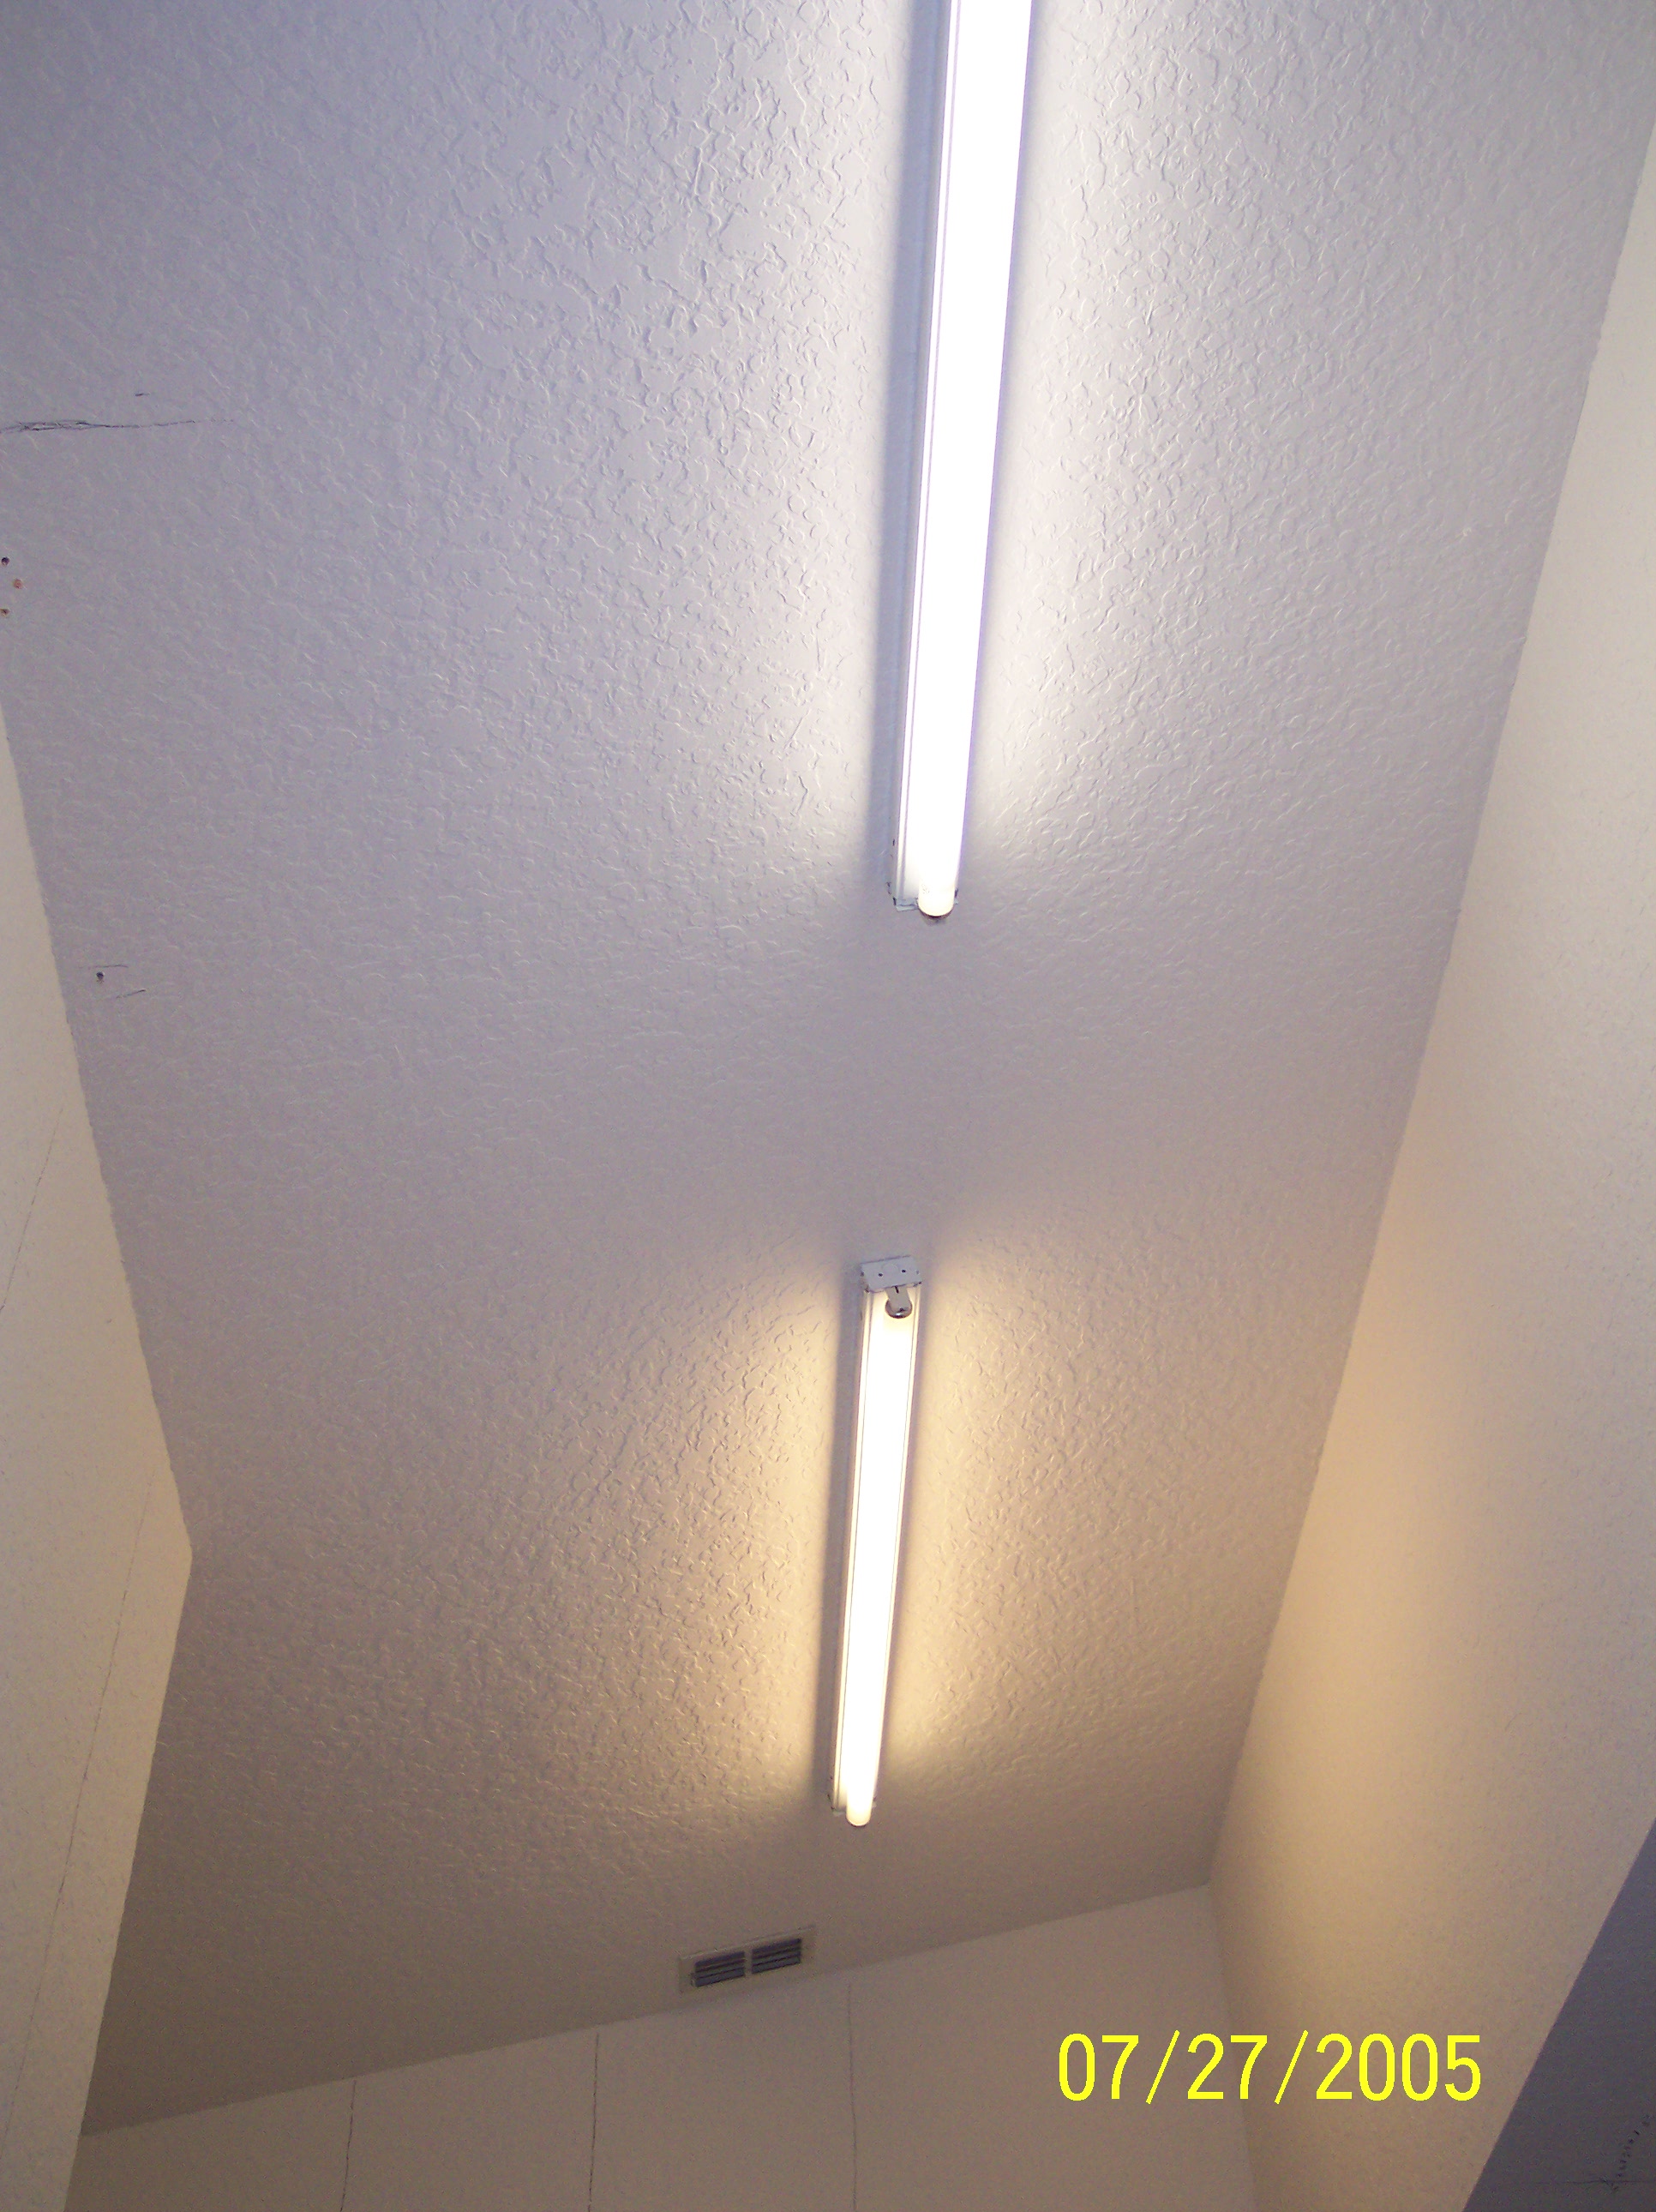
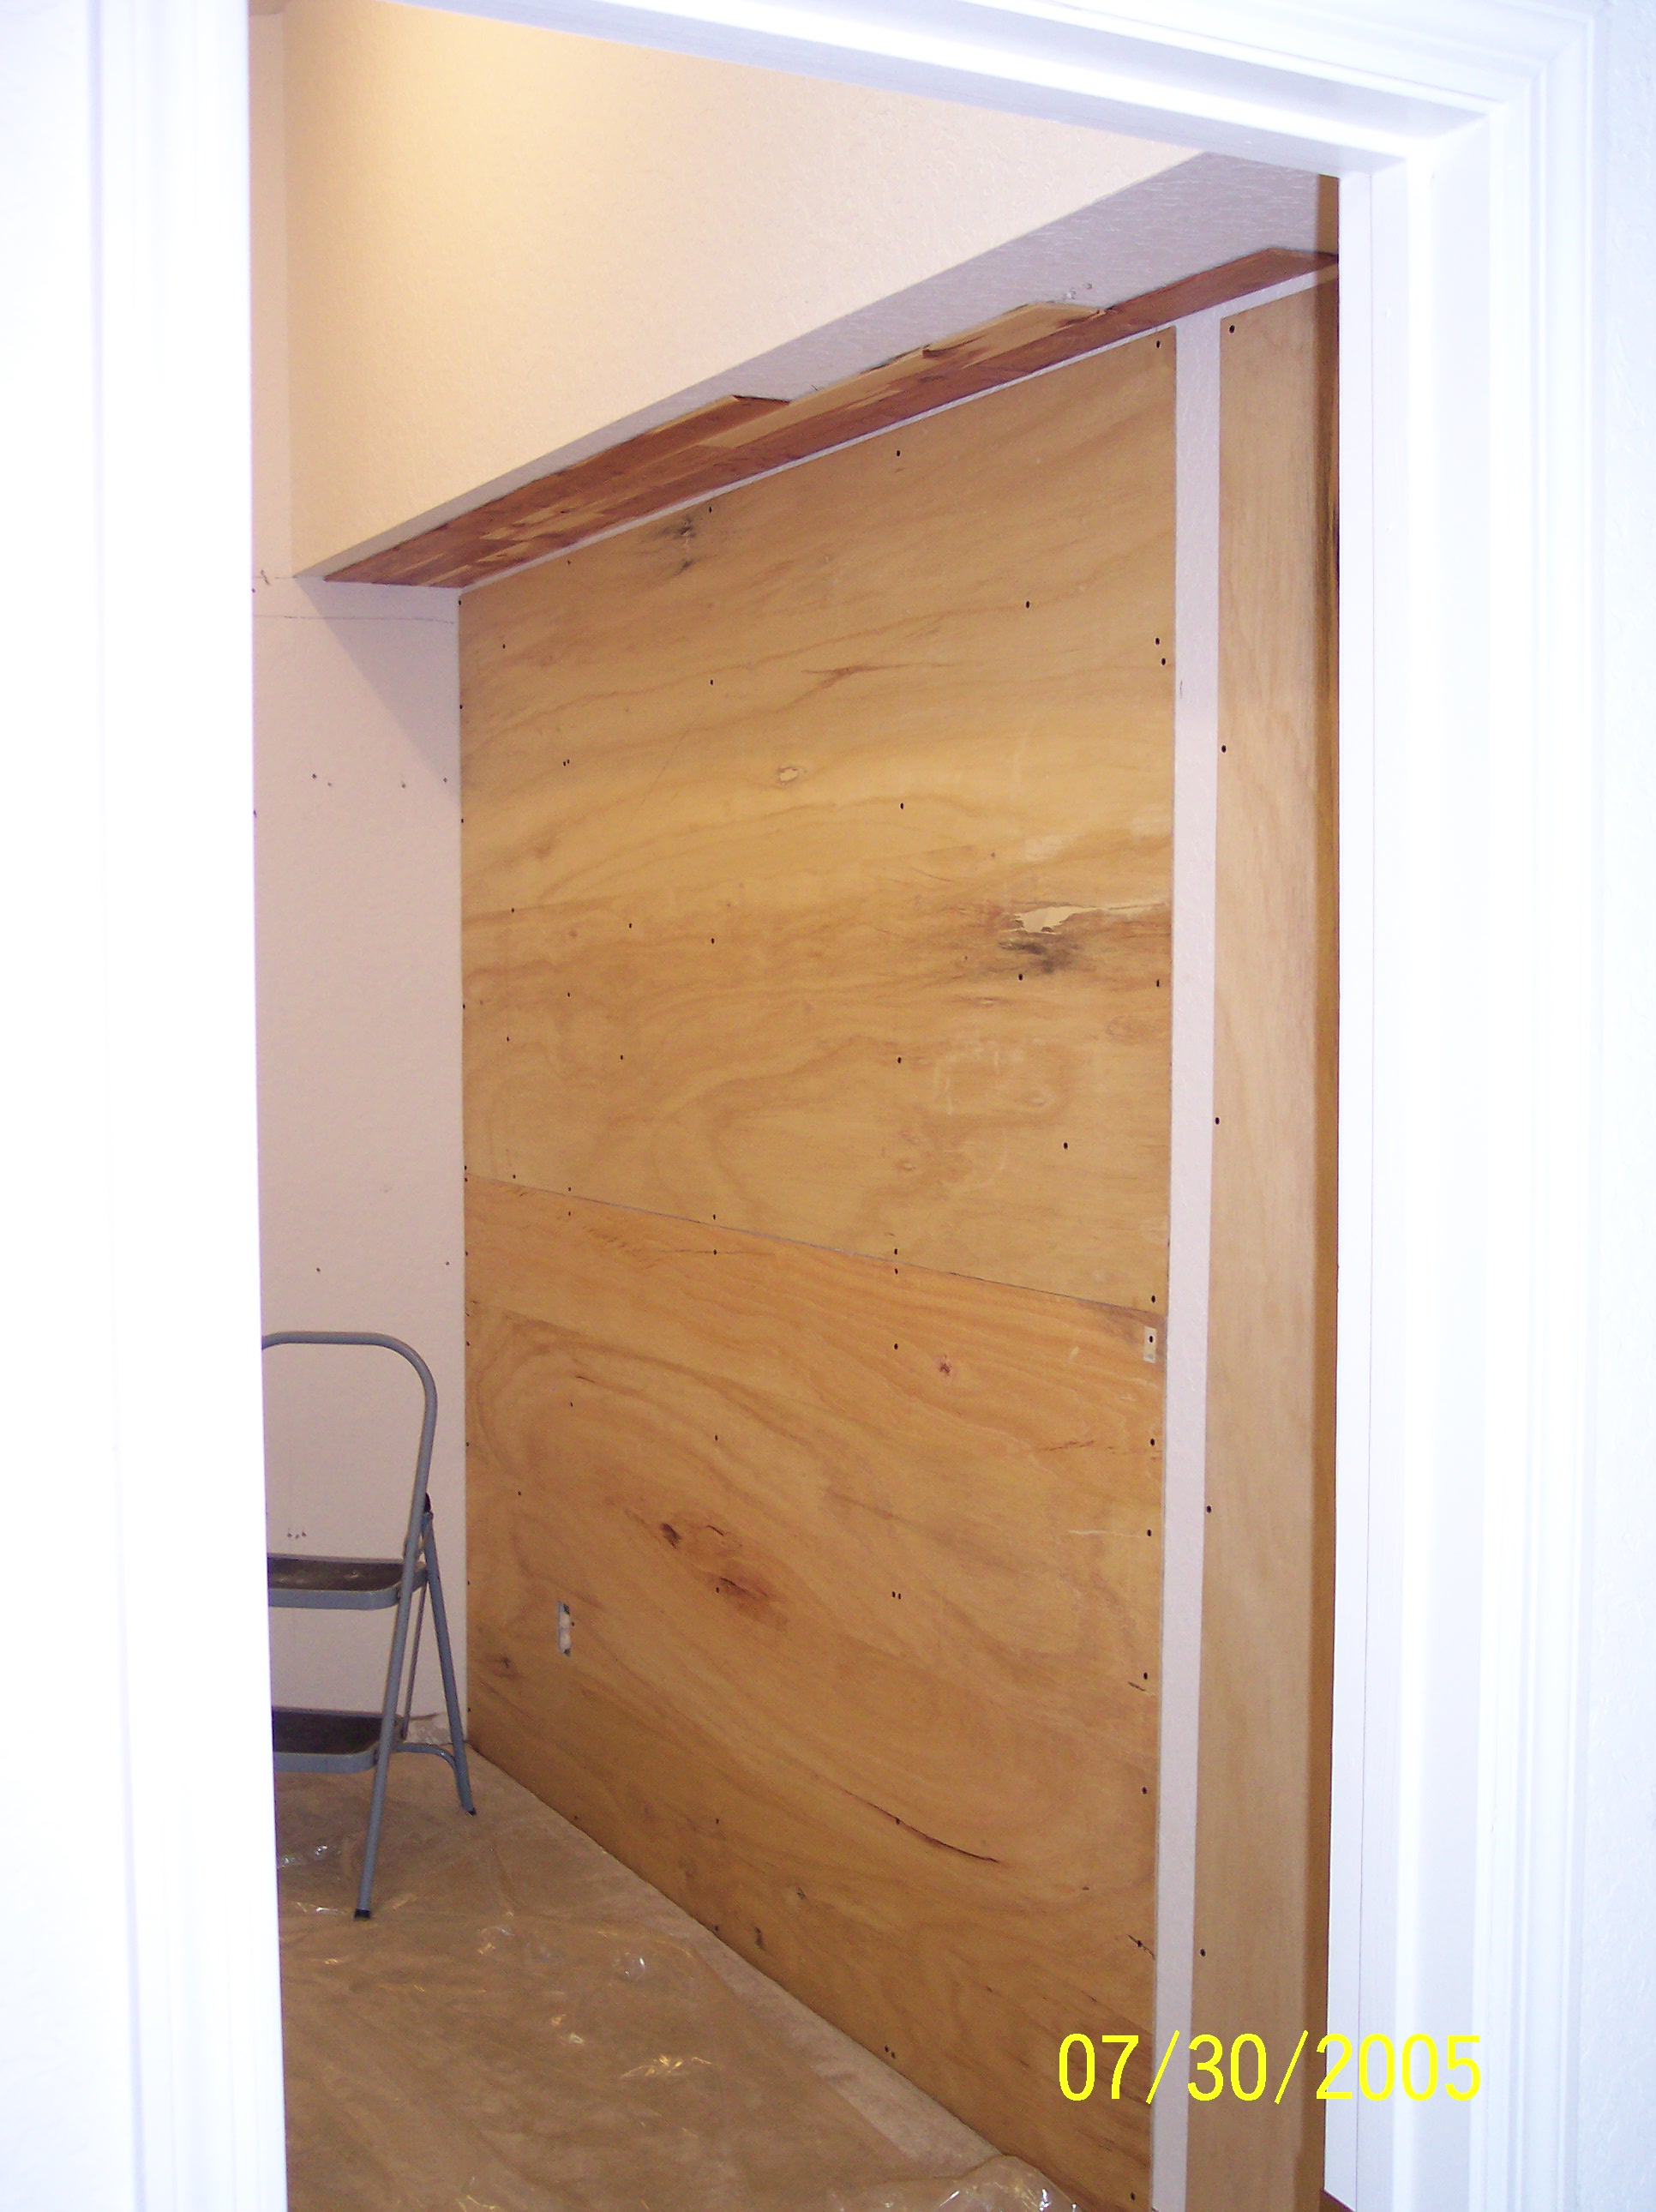
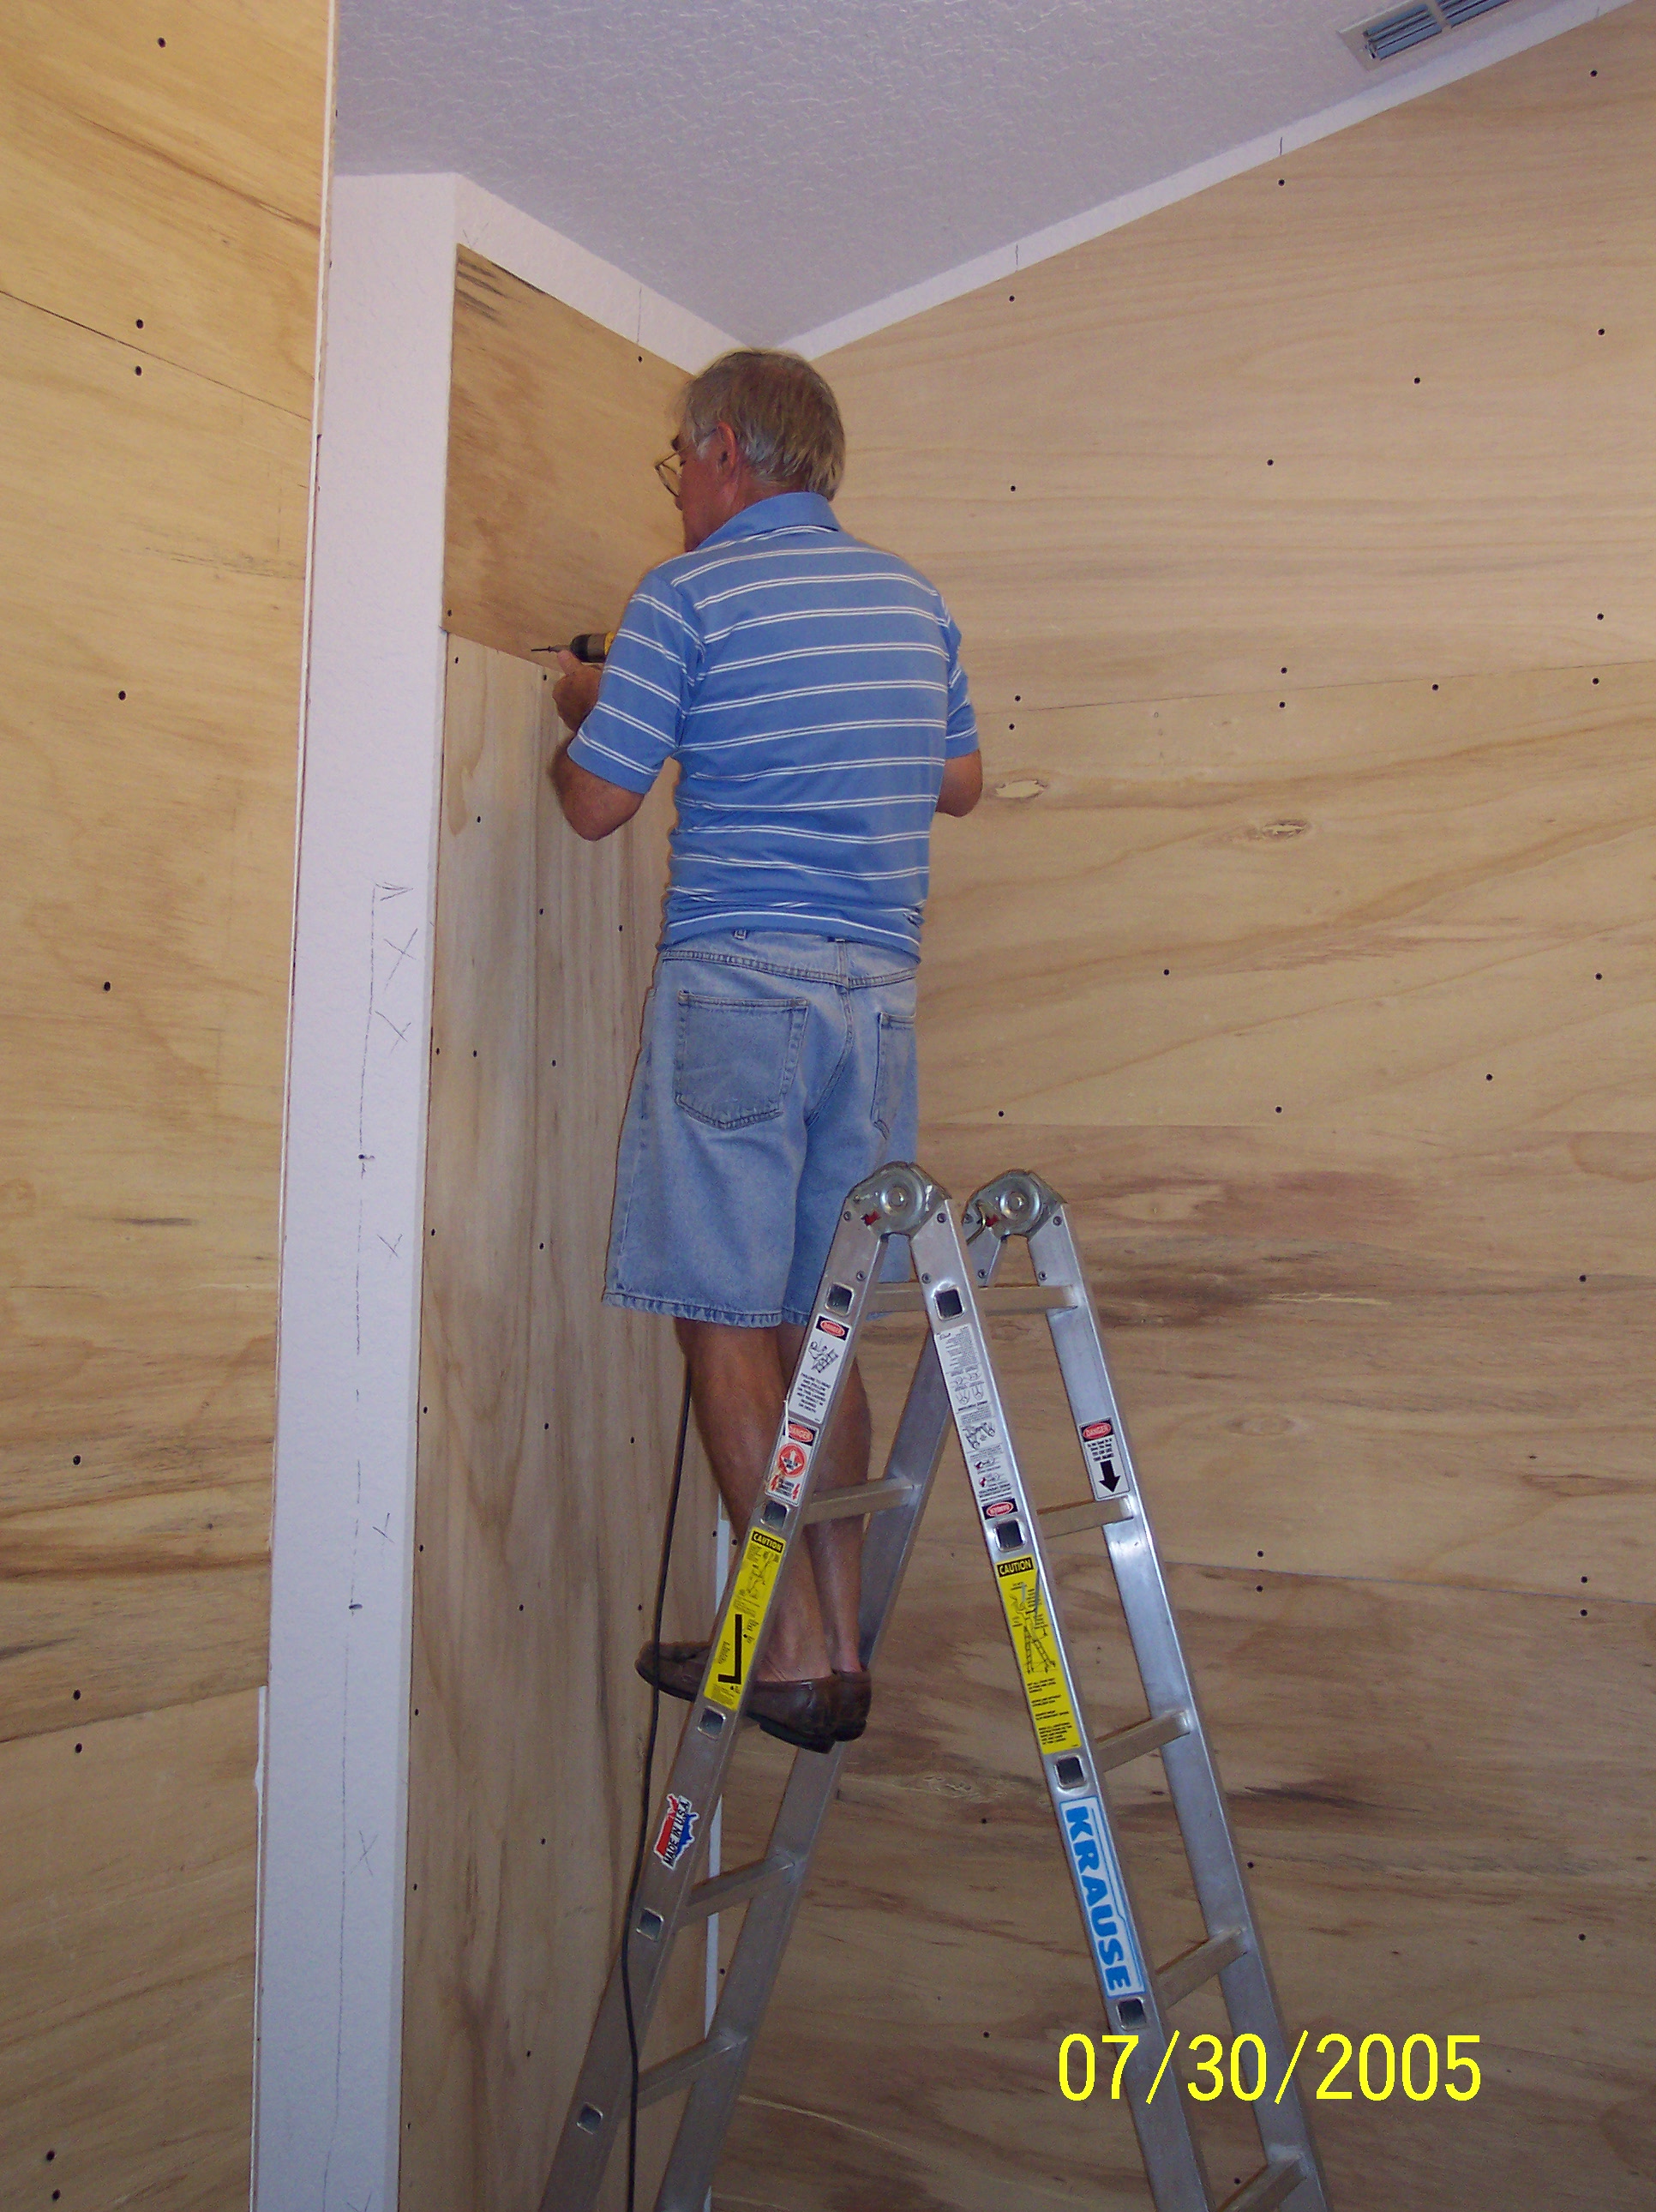
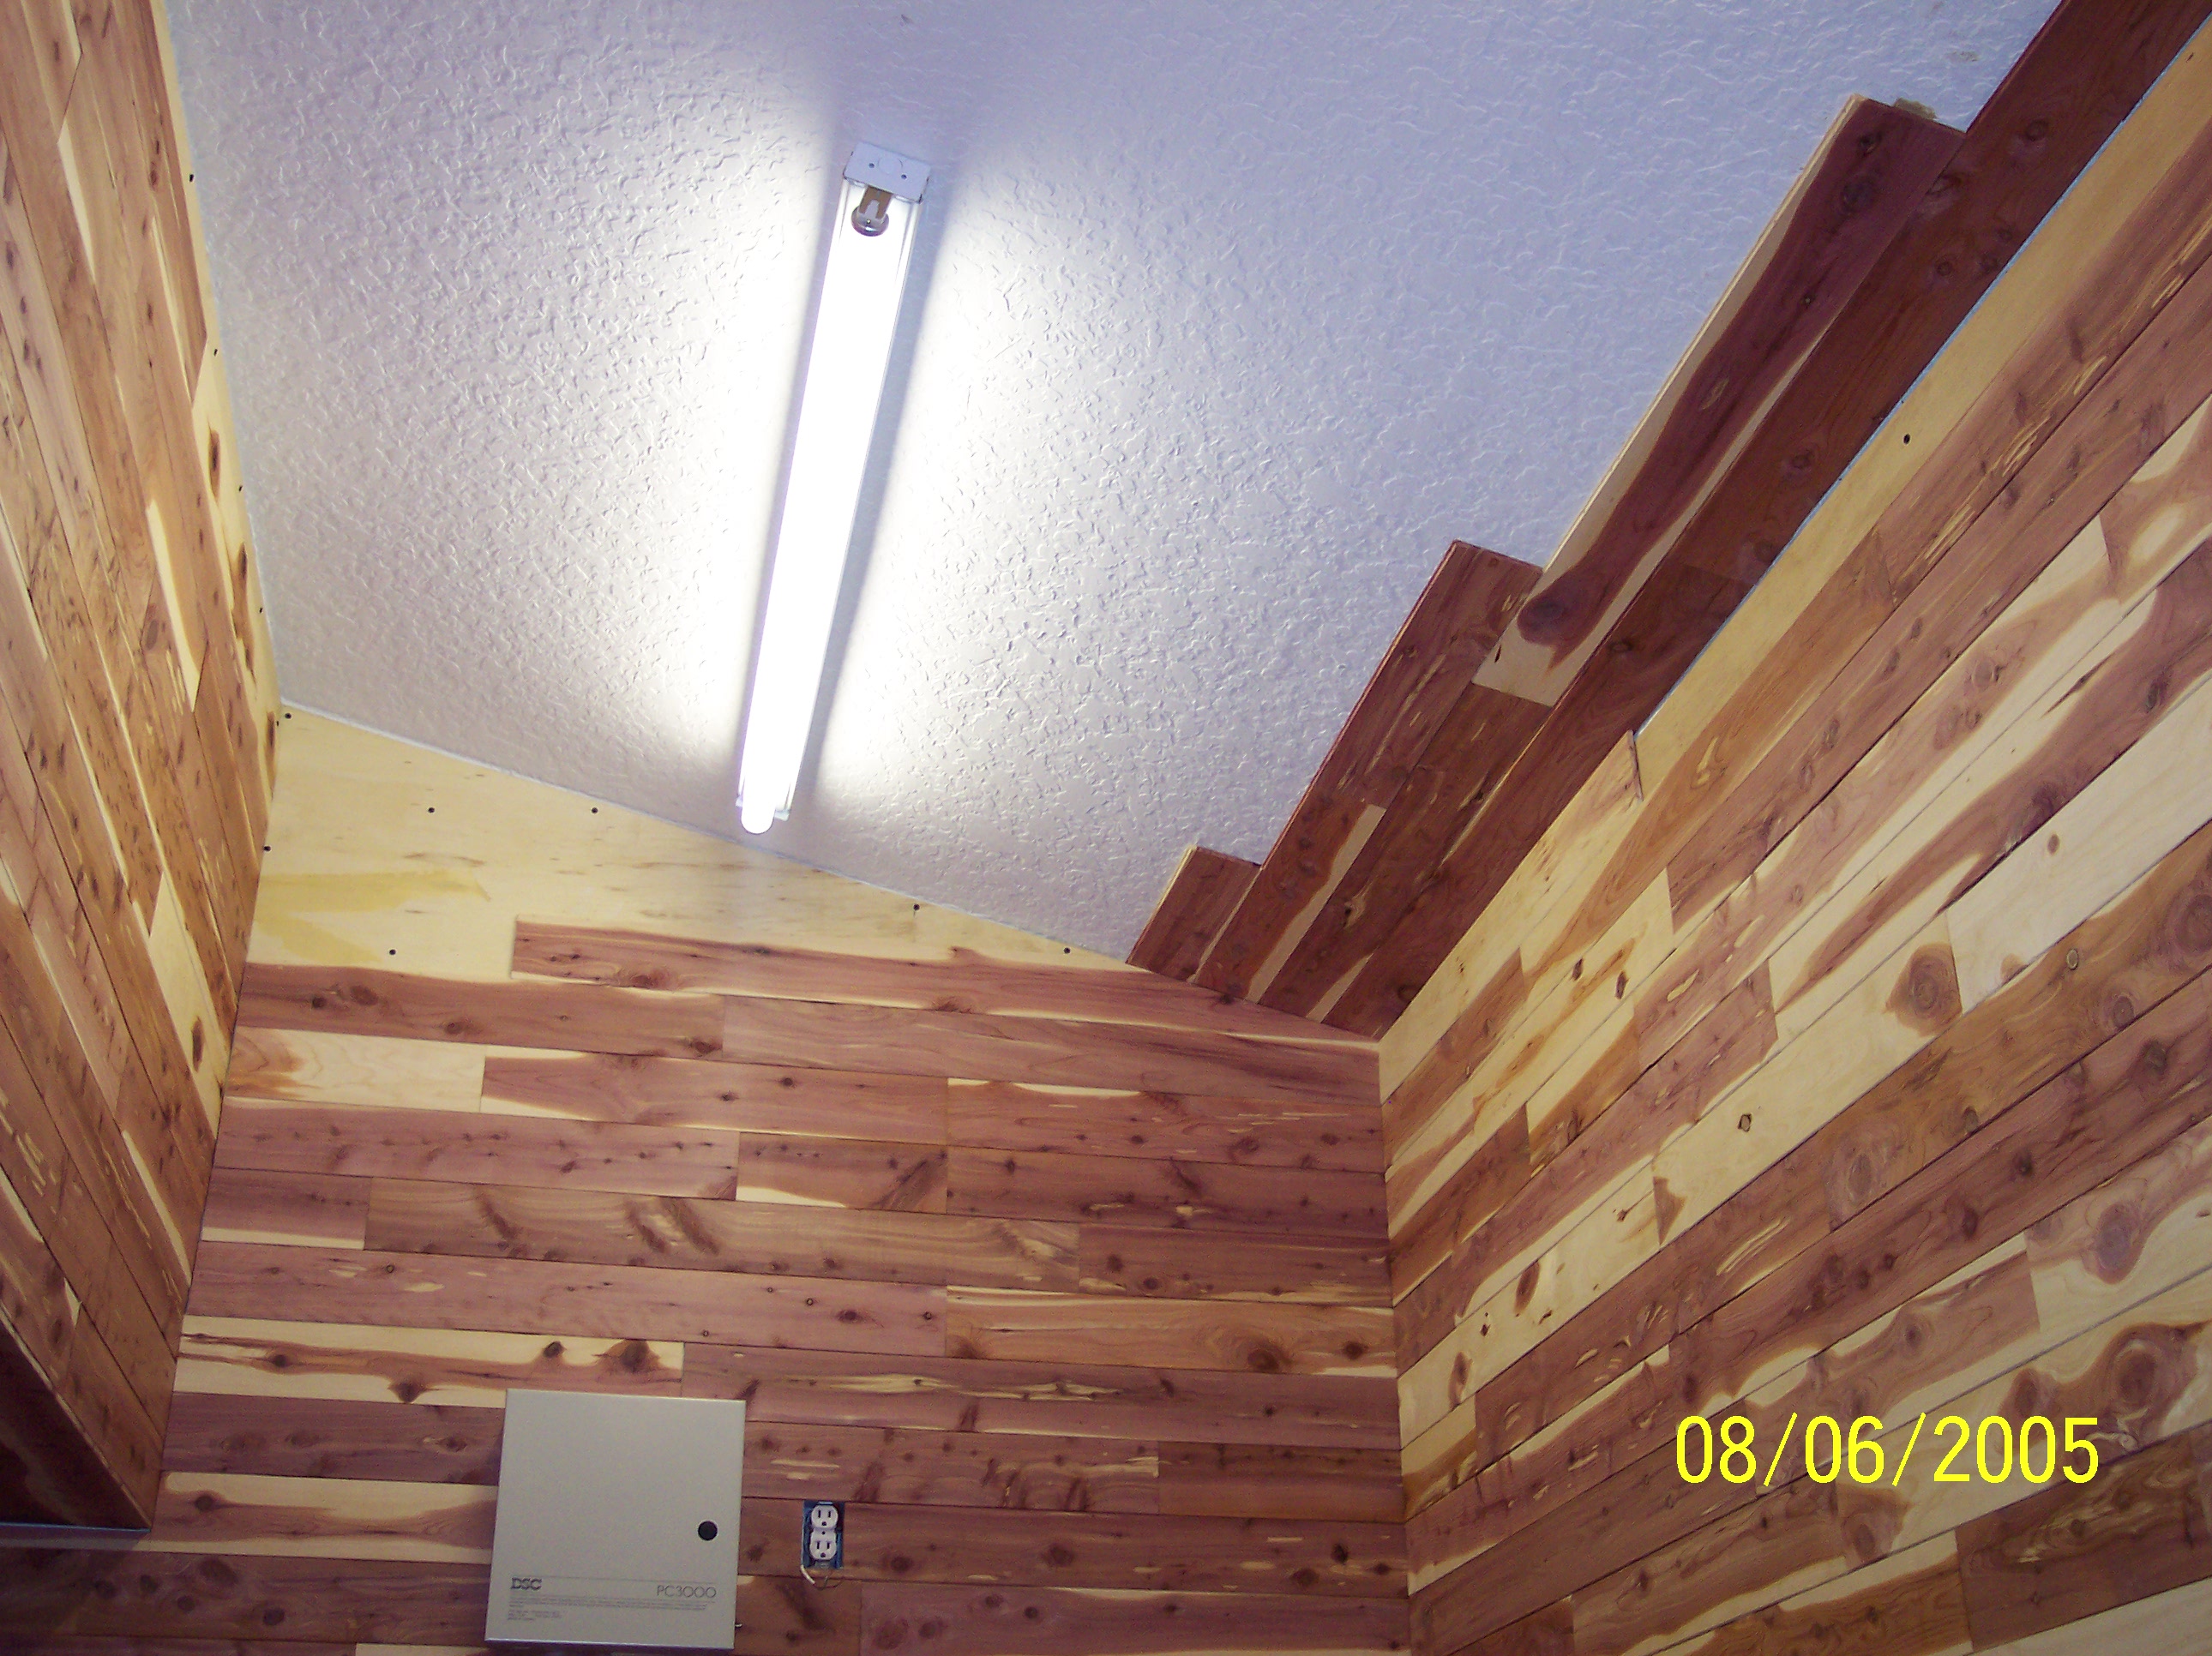
As you can see, we started with plain white walls and two unattractive 48" fluorescent lights. The first thing we did was mark where all the metal studs were located. Since there are no wood studs in the walls, we weren't able to simply nail the cedar planks to the wall. Adhesive was our best choice, but it could get quite expensive. So we got 1/4" sheets of cheap plywood and covered the walls with it.
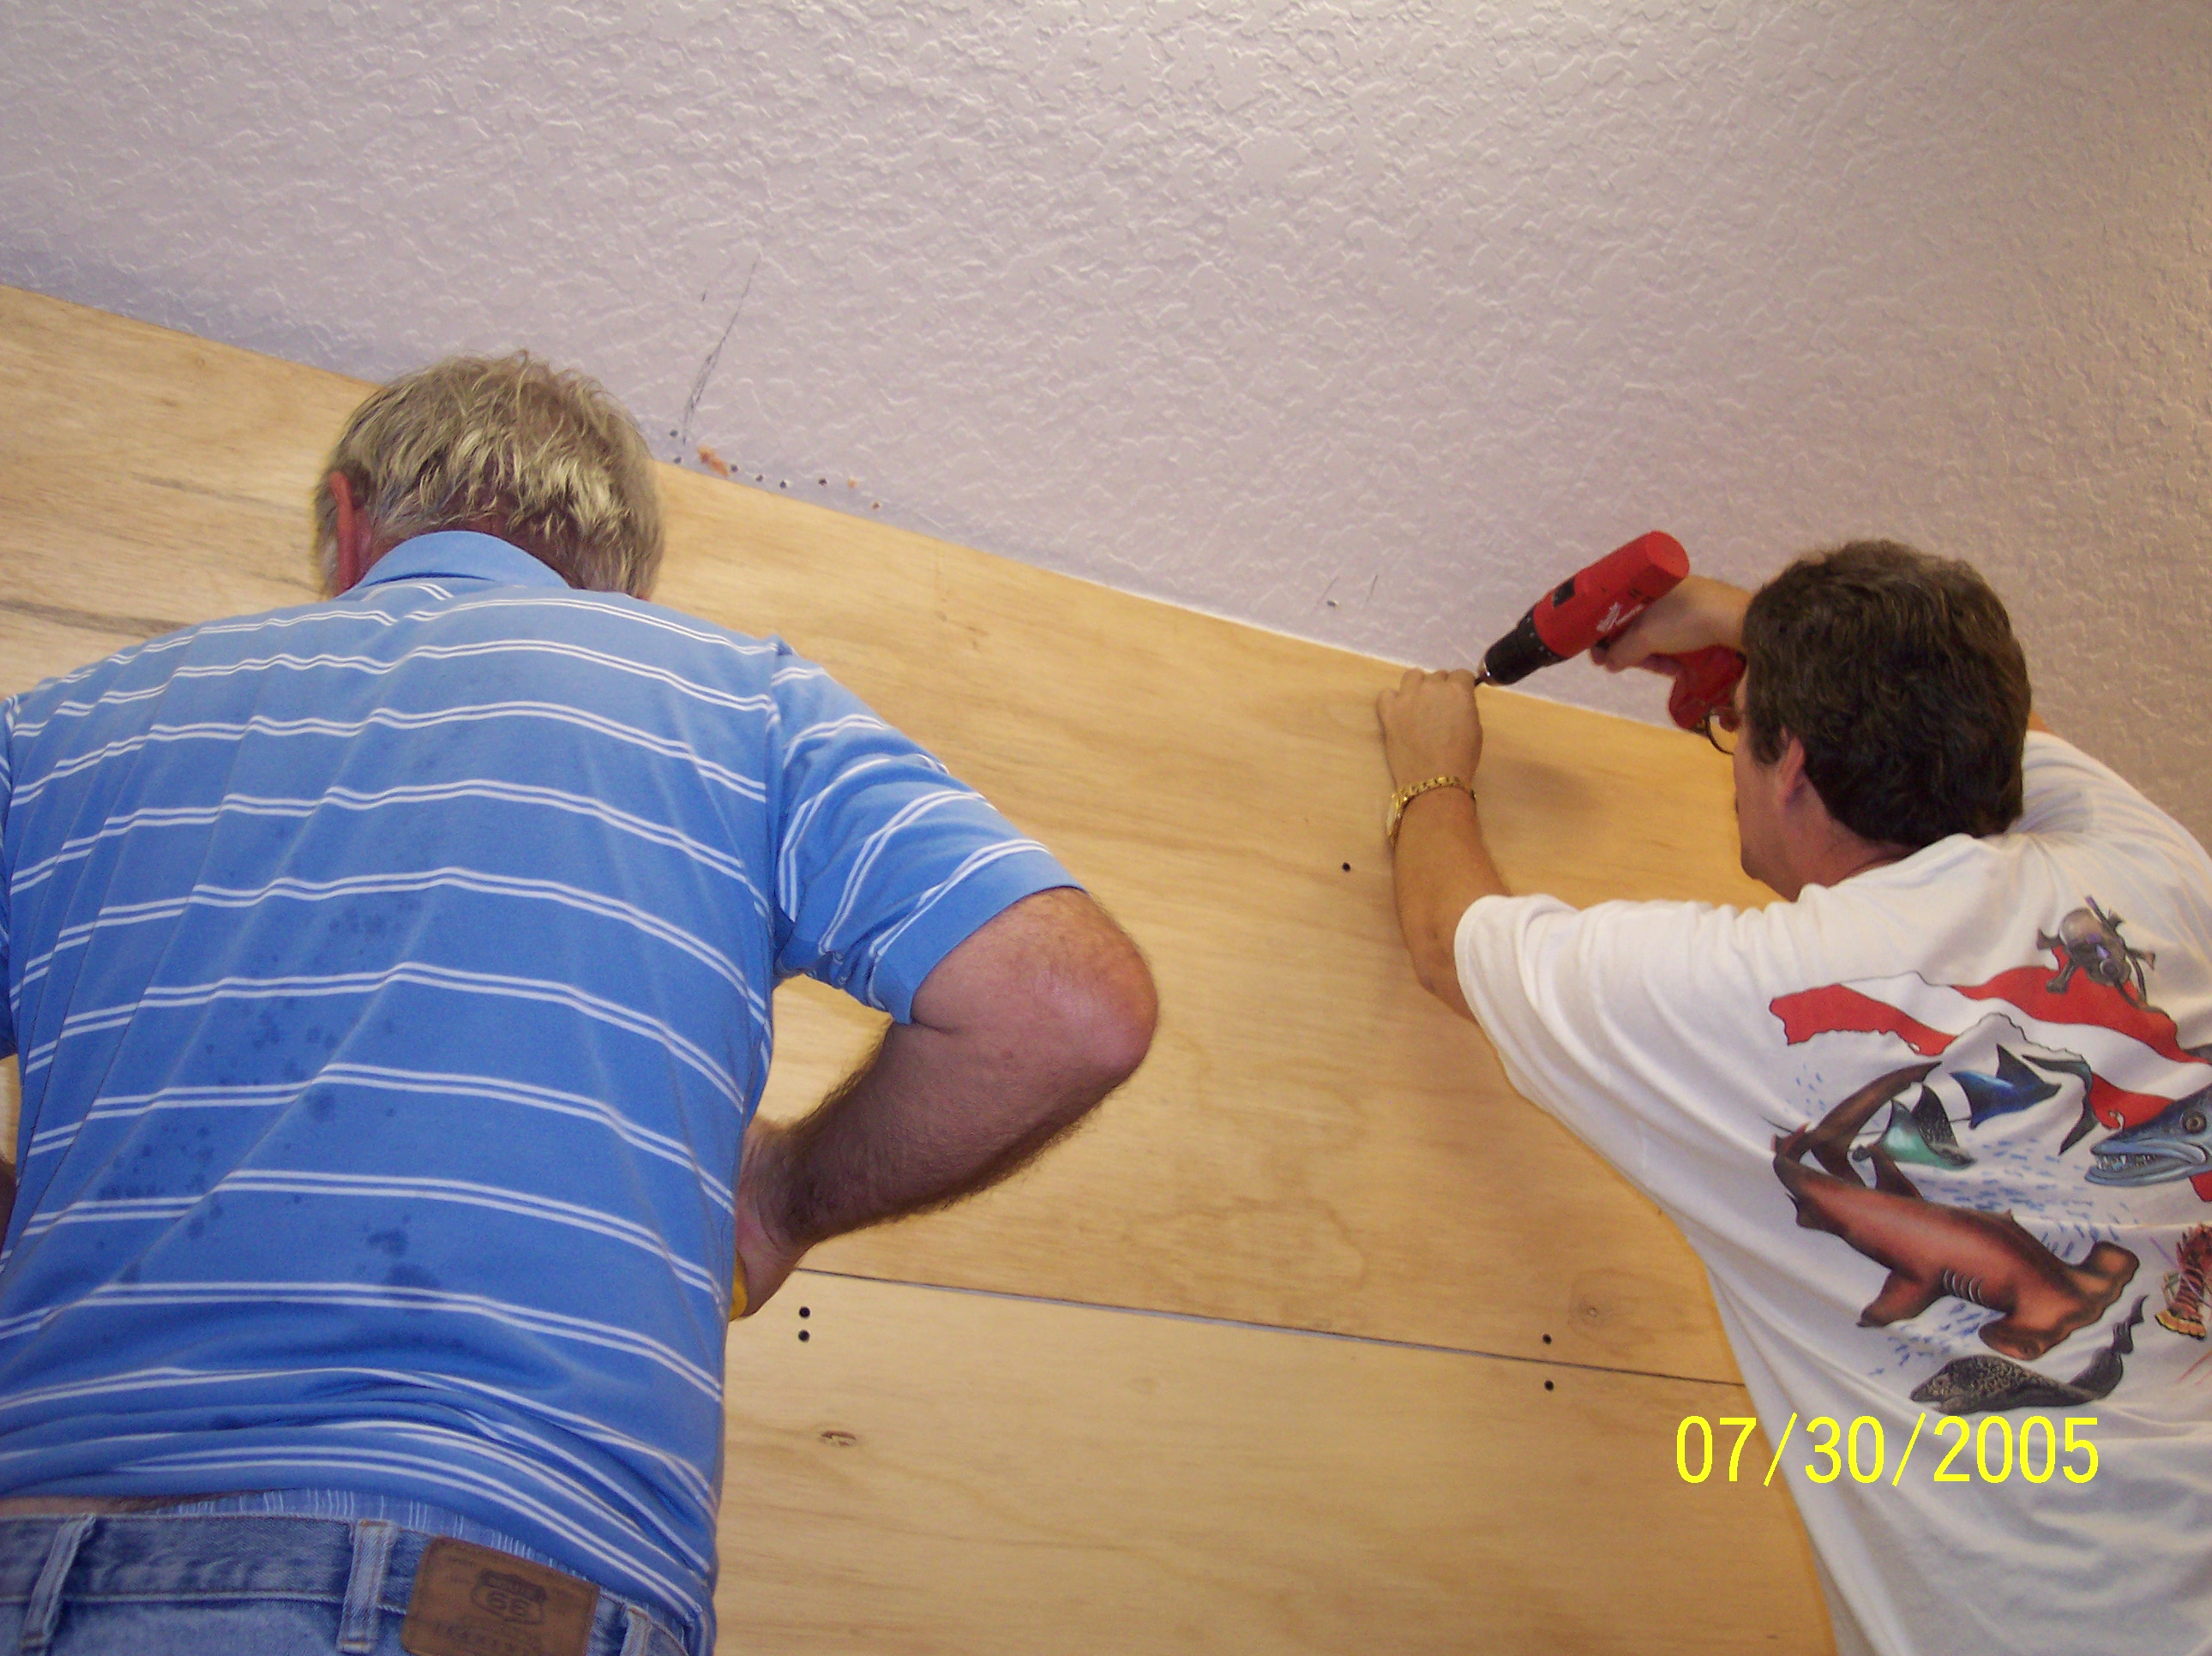
Michelle's dad, Bill, came over on the weekend to help, and boy are we glad he did...this is really a two-man job, and with his help we knocked out in two days what would have taken me two weeks to do by myself! The panels were attached with construction adhesive and screws. No way will these walls ever come down!
It was hard work too! Measure, cut, fit, recut...and everytime a new cut had to be made, it meant another trip out to the garage! Harley was so worn out he collapsed by the sliding glass doors!
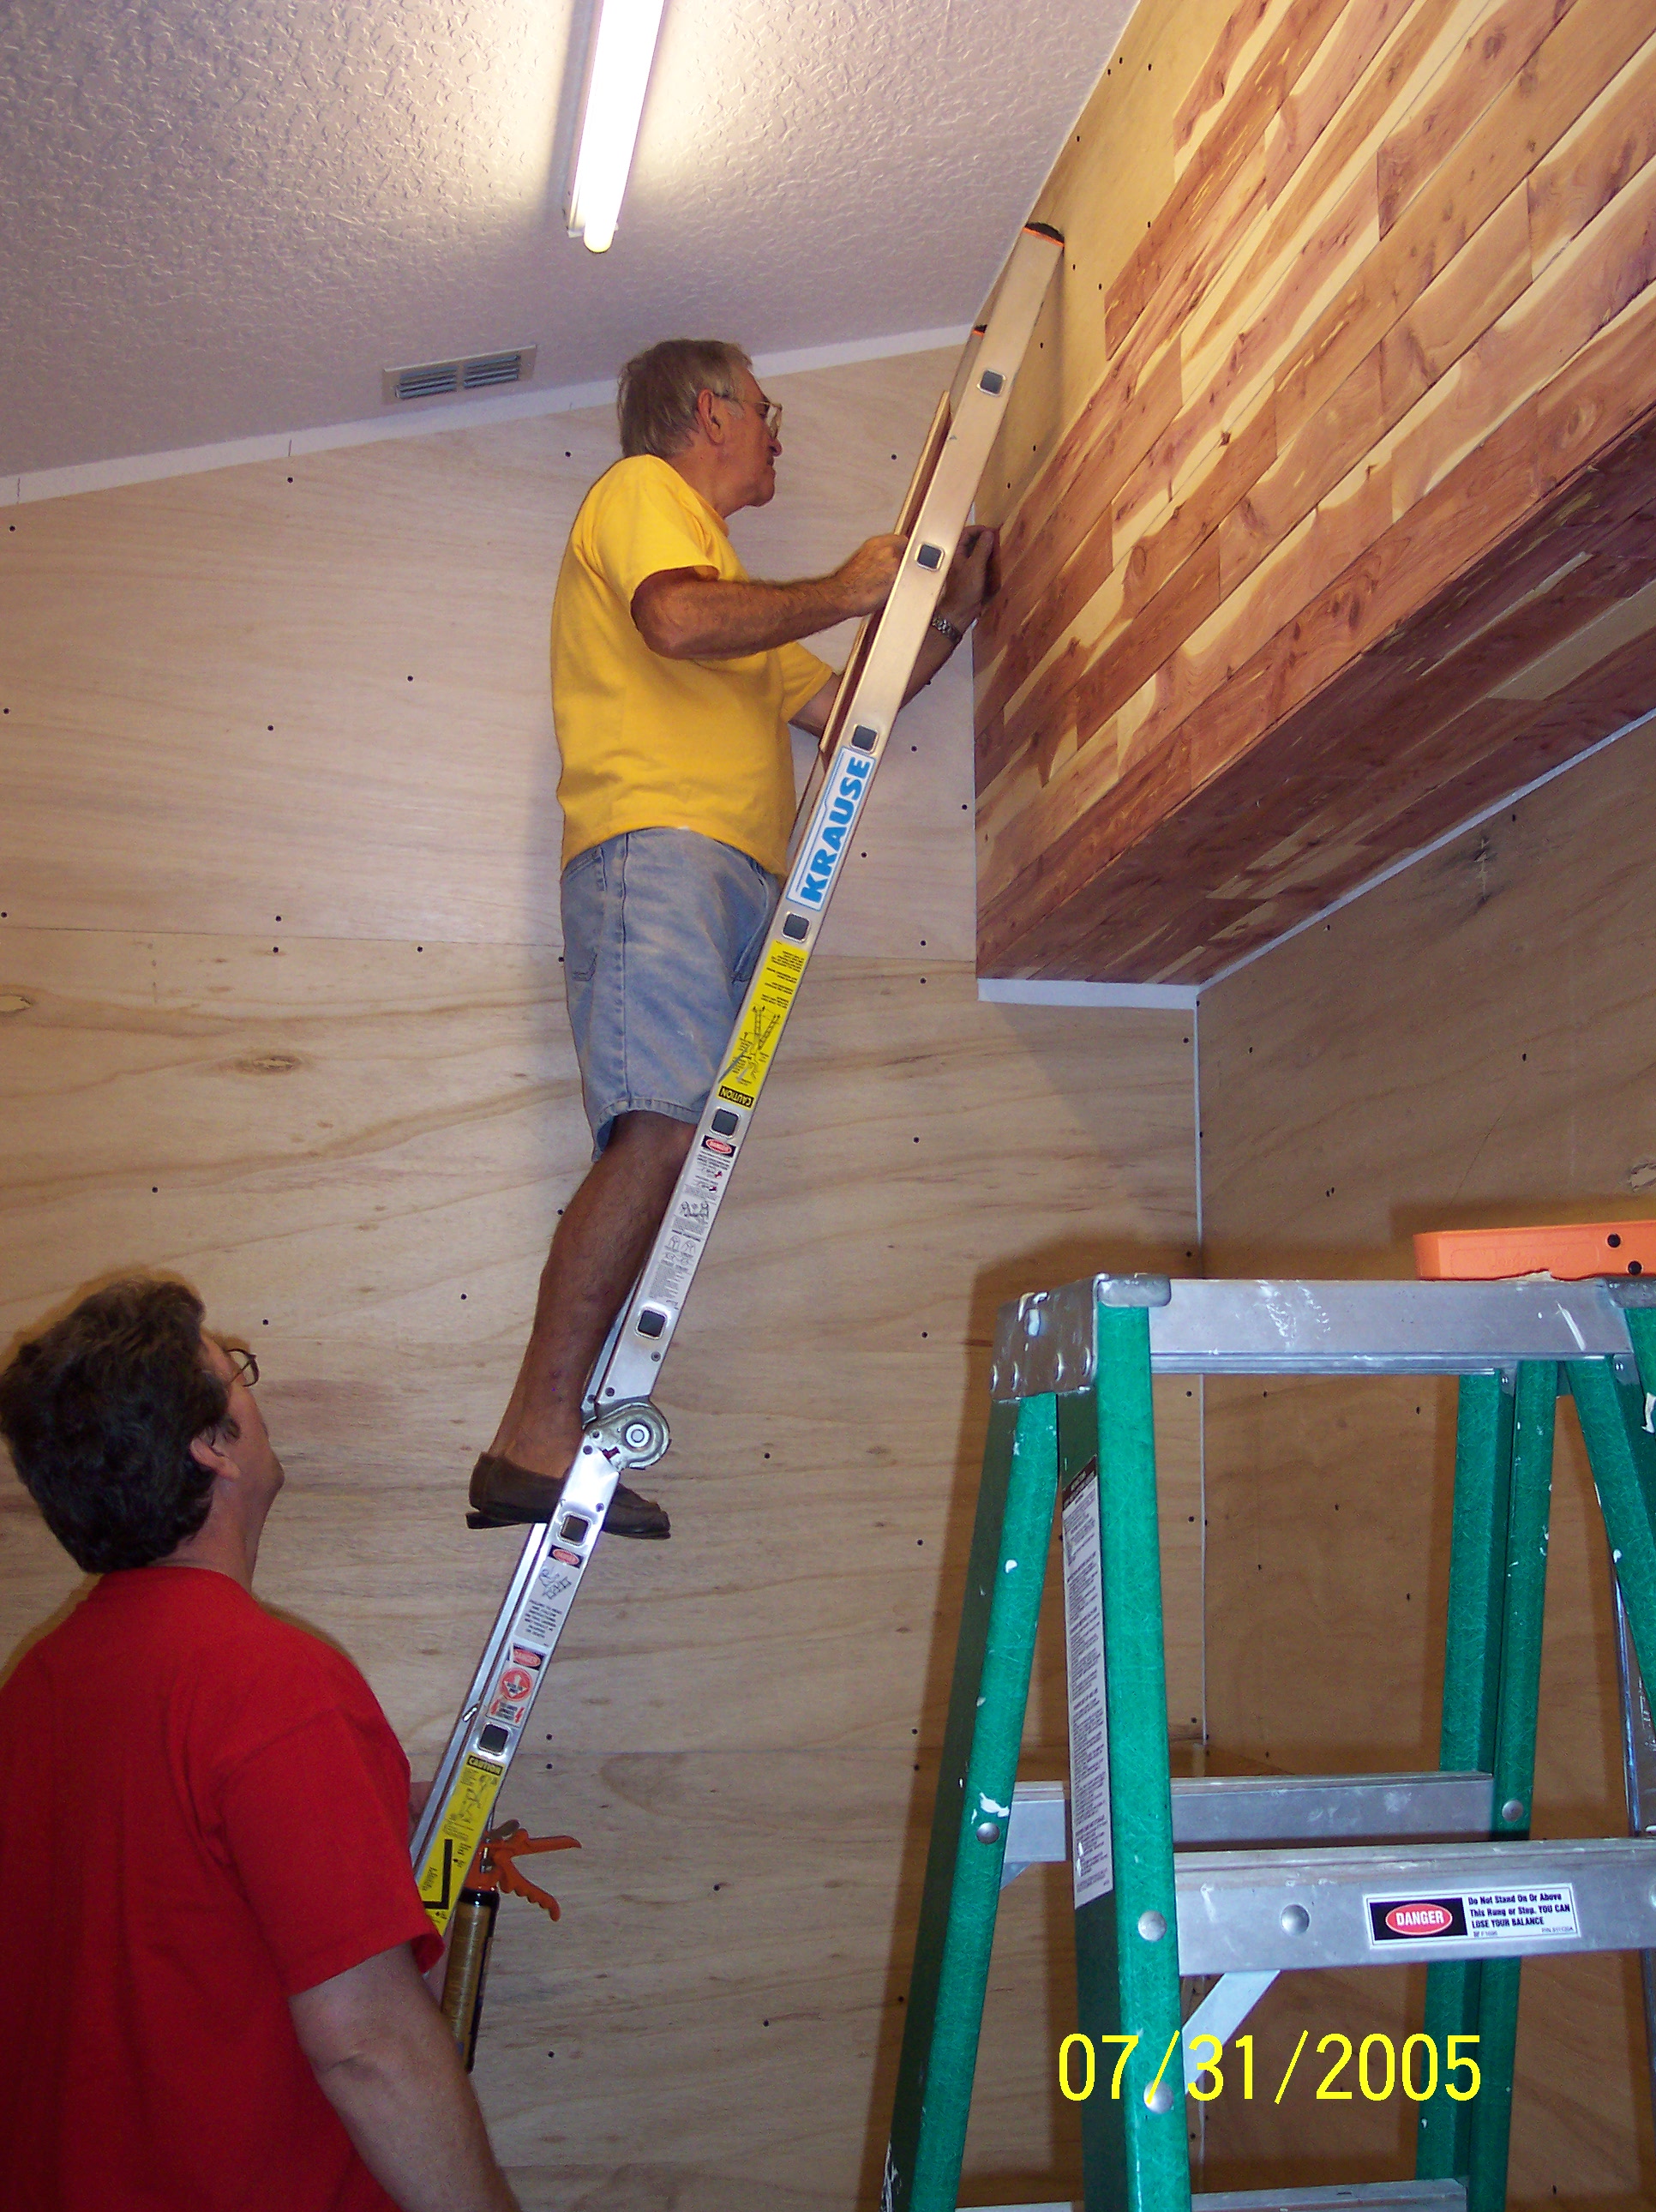
We started attaching the cedar above the bumpout. Now that we had something to nail to, we didn't have to use the adhesive so much, and things began to move a little faster.
It was still hard work...at this point, everything was done from a ladder...measure, mark, trot out to the garage to cut, bring it back to fit, then glue and nail..move on to the next one. All the while trying to maintain a random pattern to minimize the joints lining up. A major problem was the fact that the cedar had warps and bends...a lot of it wasn't straight, so we spent a great deal of time prying the tongues and grooves together so they would mate. The following show how the job took shape. We did the walls first, but not quite up to the ceiling, then did the ceiling last.
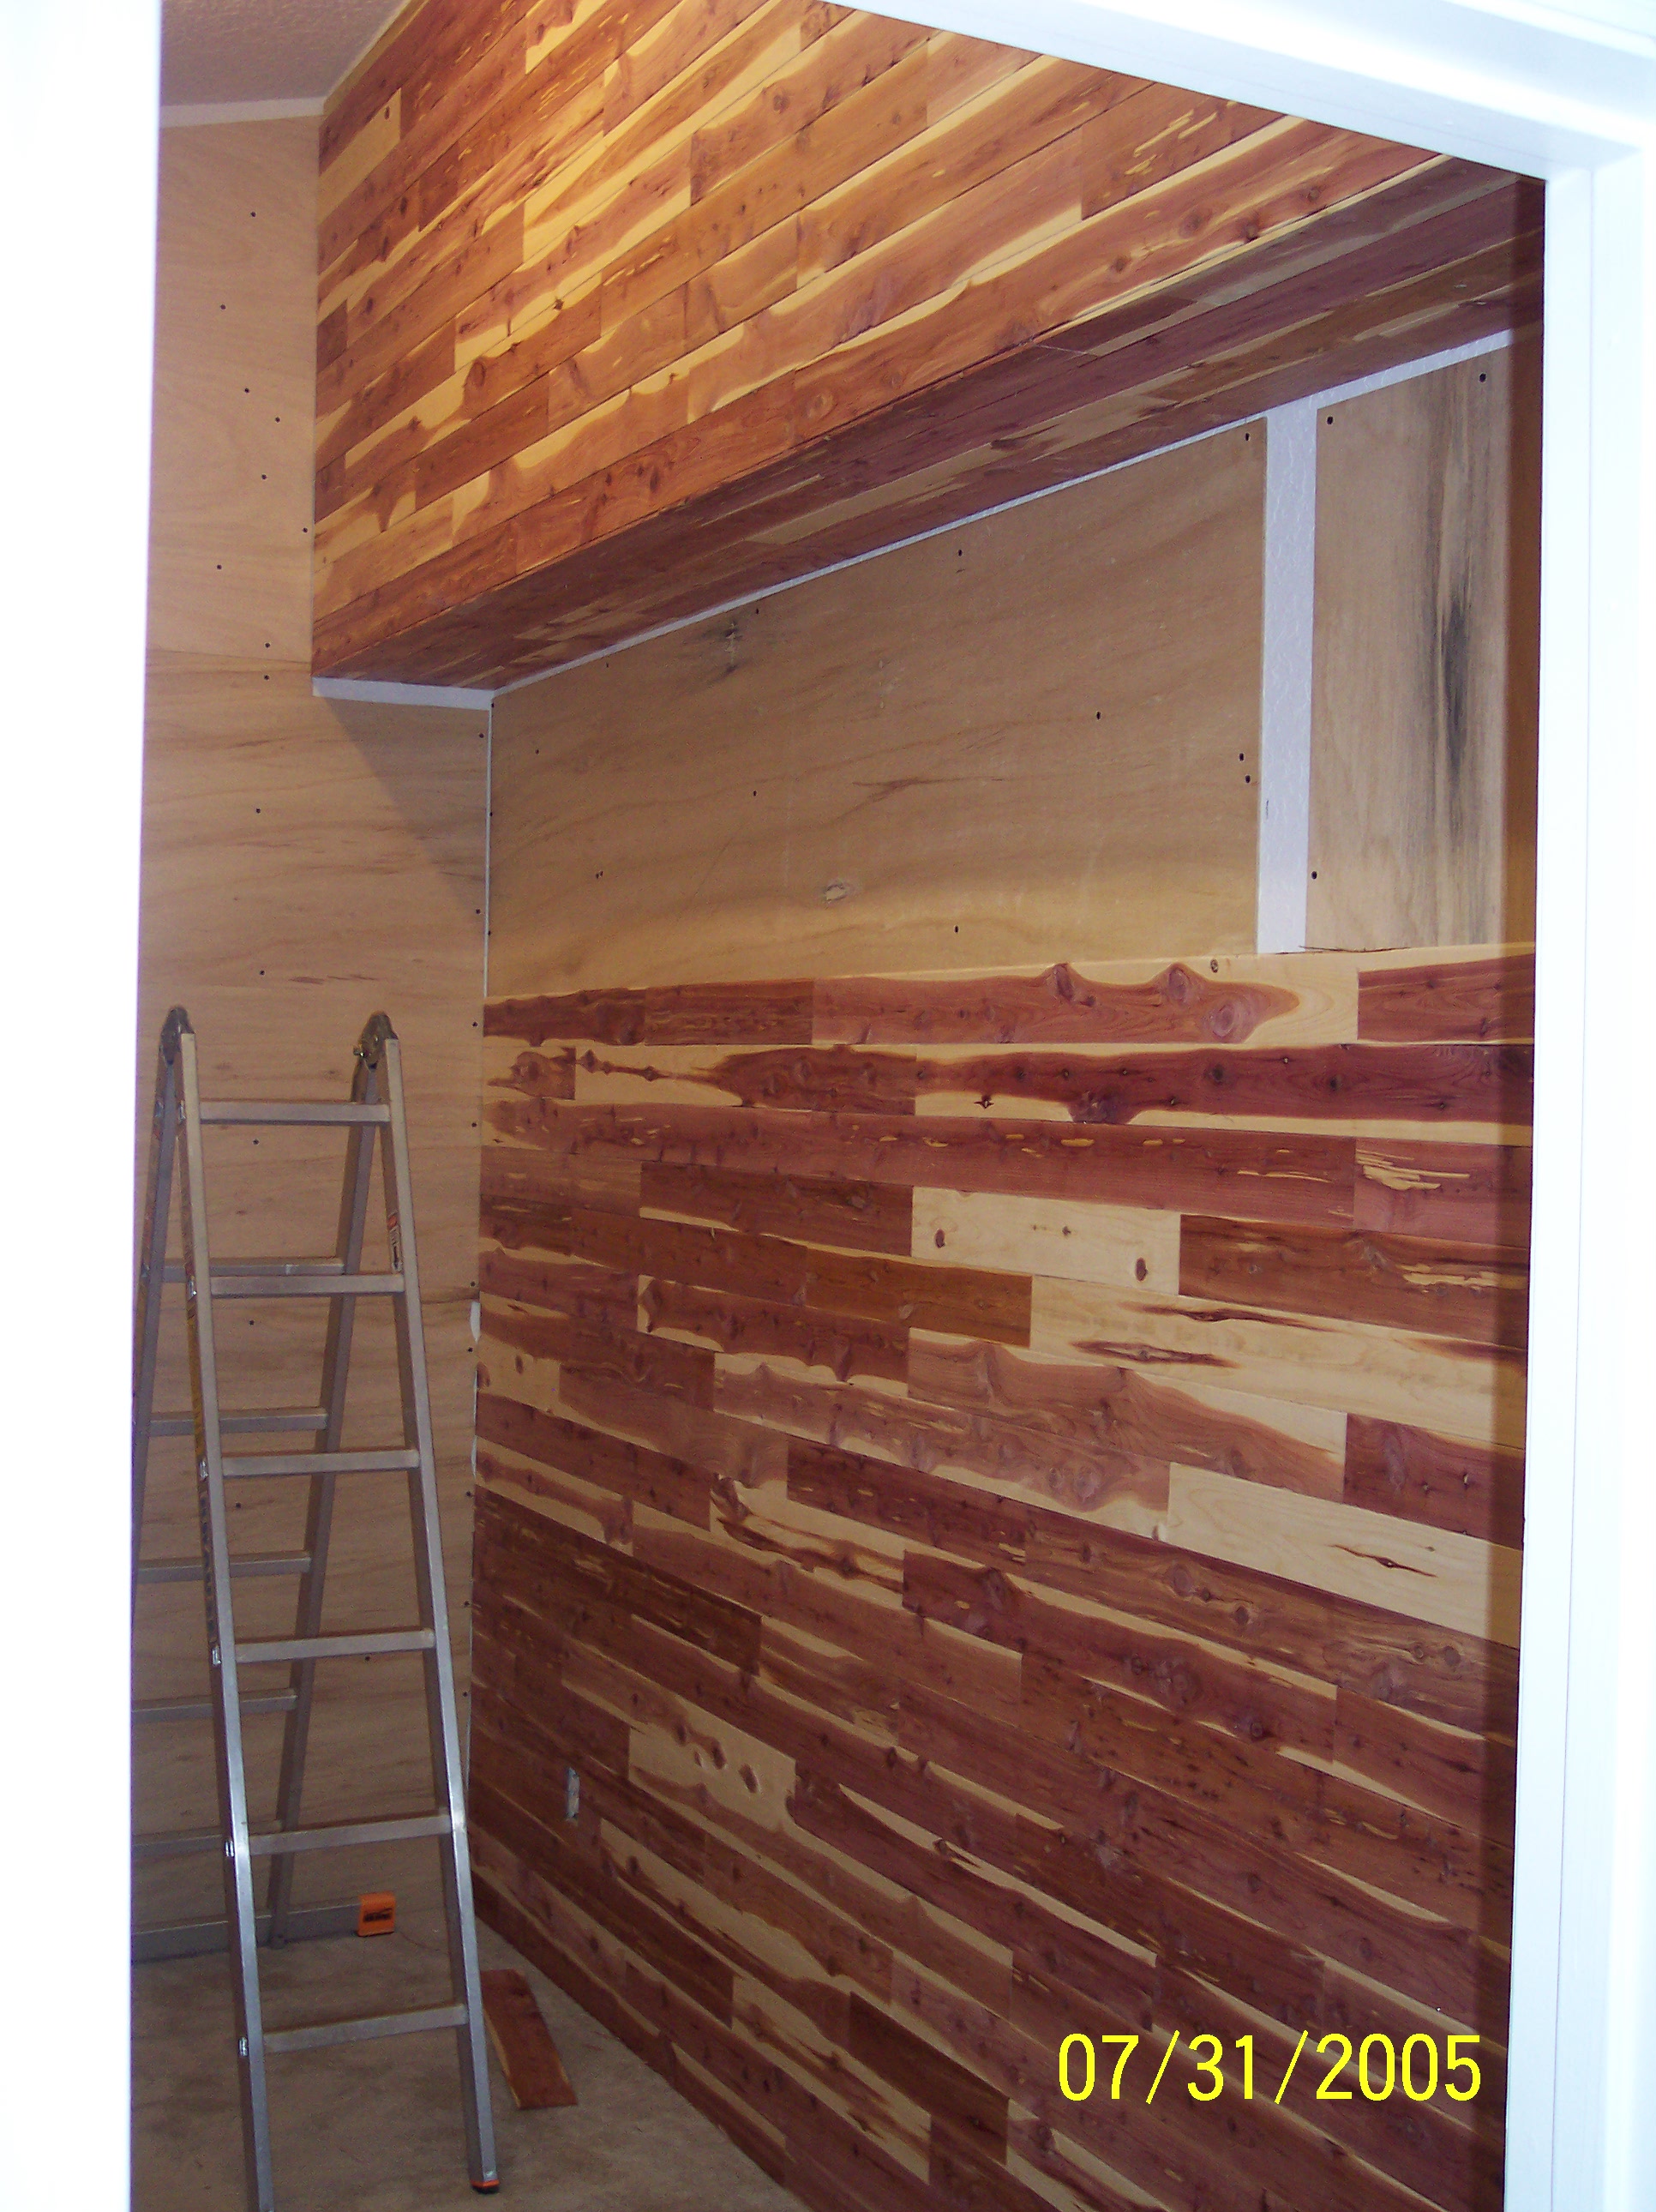
The picture below shows the angles of one wall in our closet that required miter cuts on one edge to ensure a clean look. This was very time-consuming, and took me the better part of two days to complete.
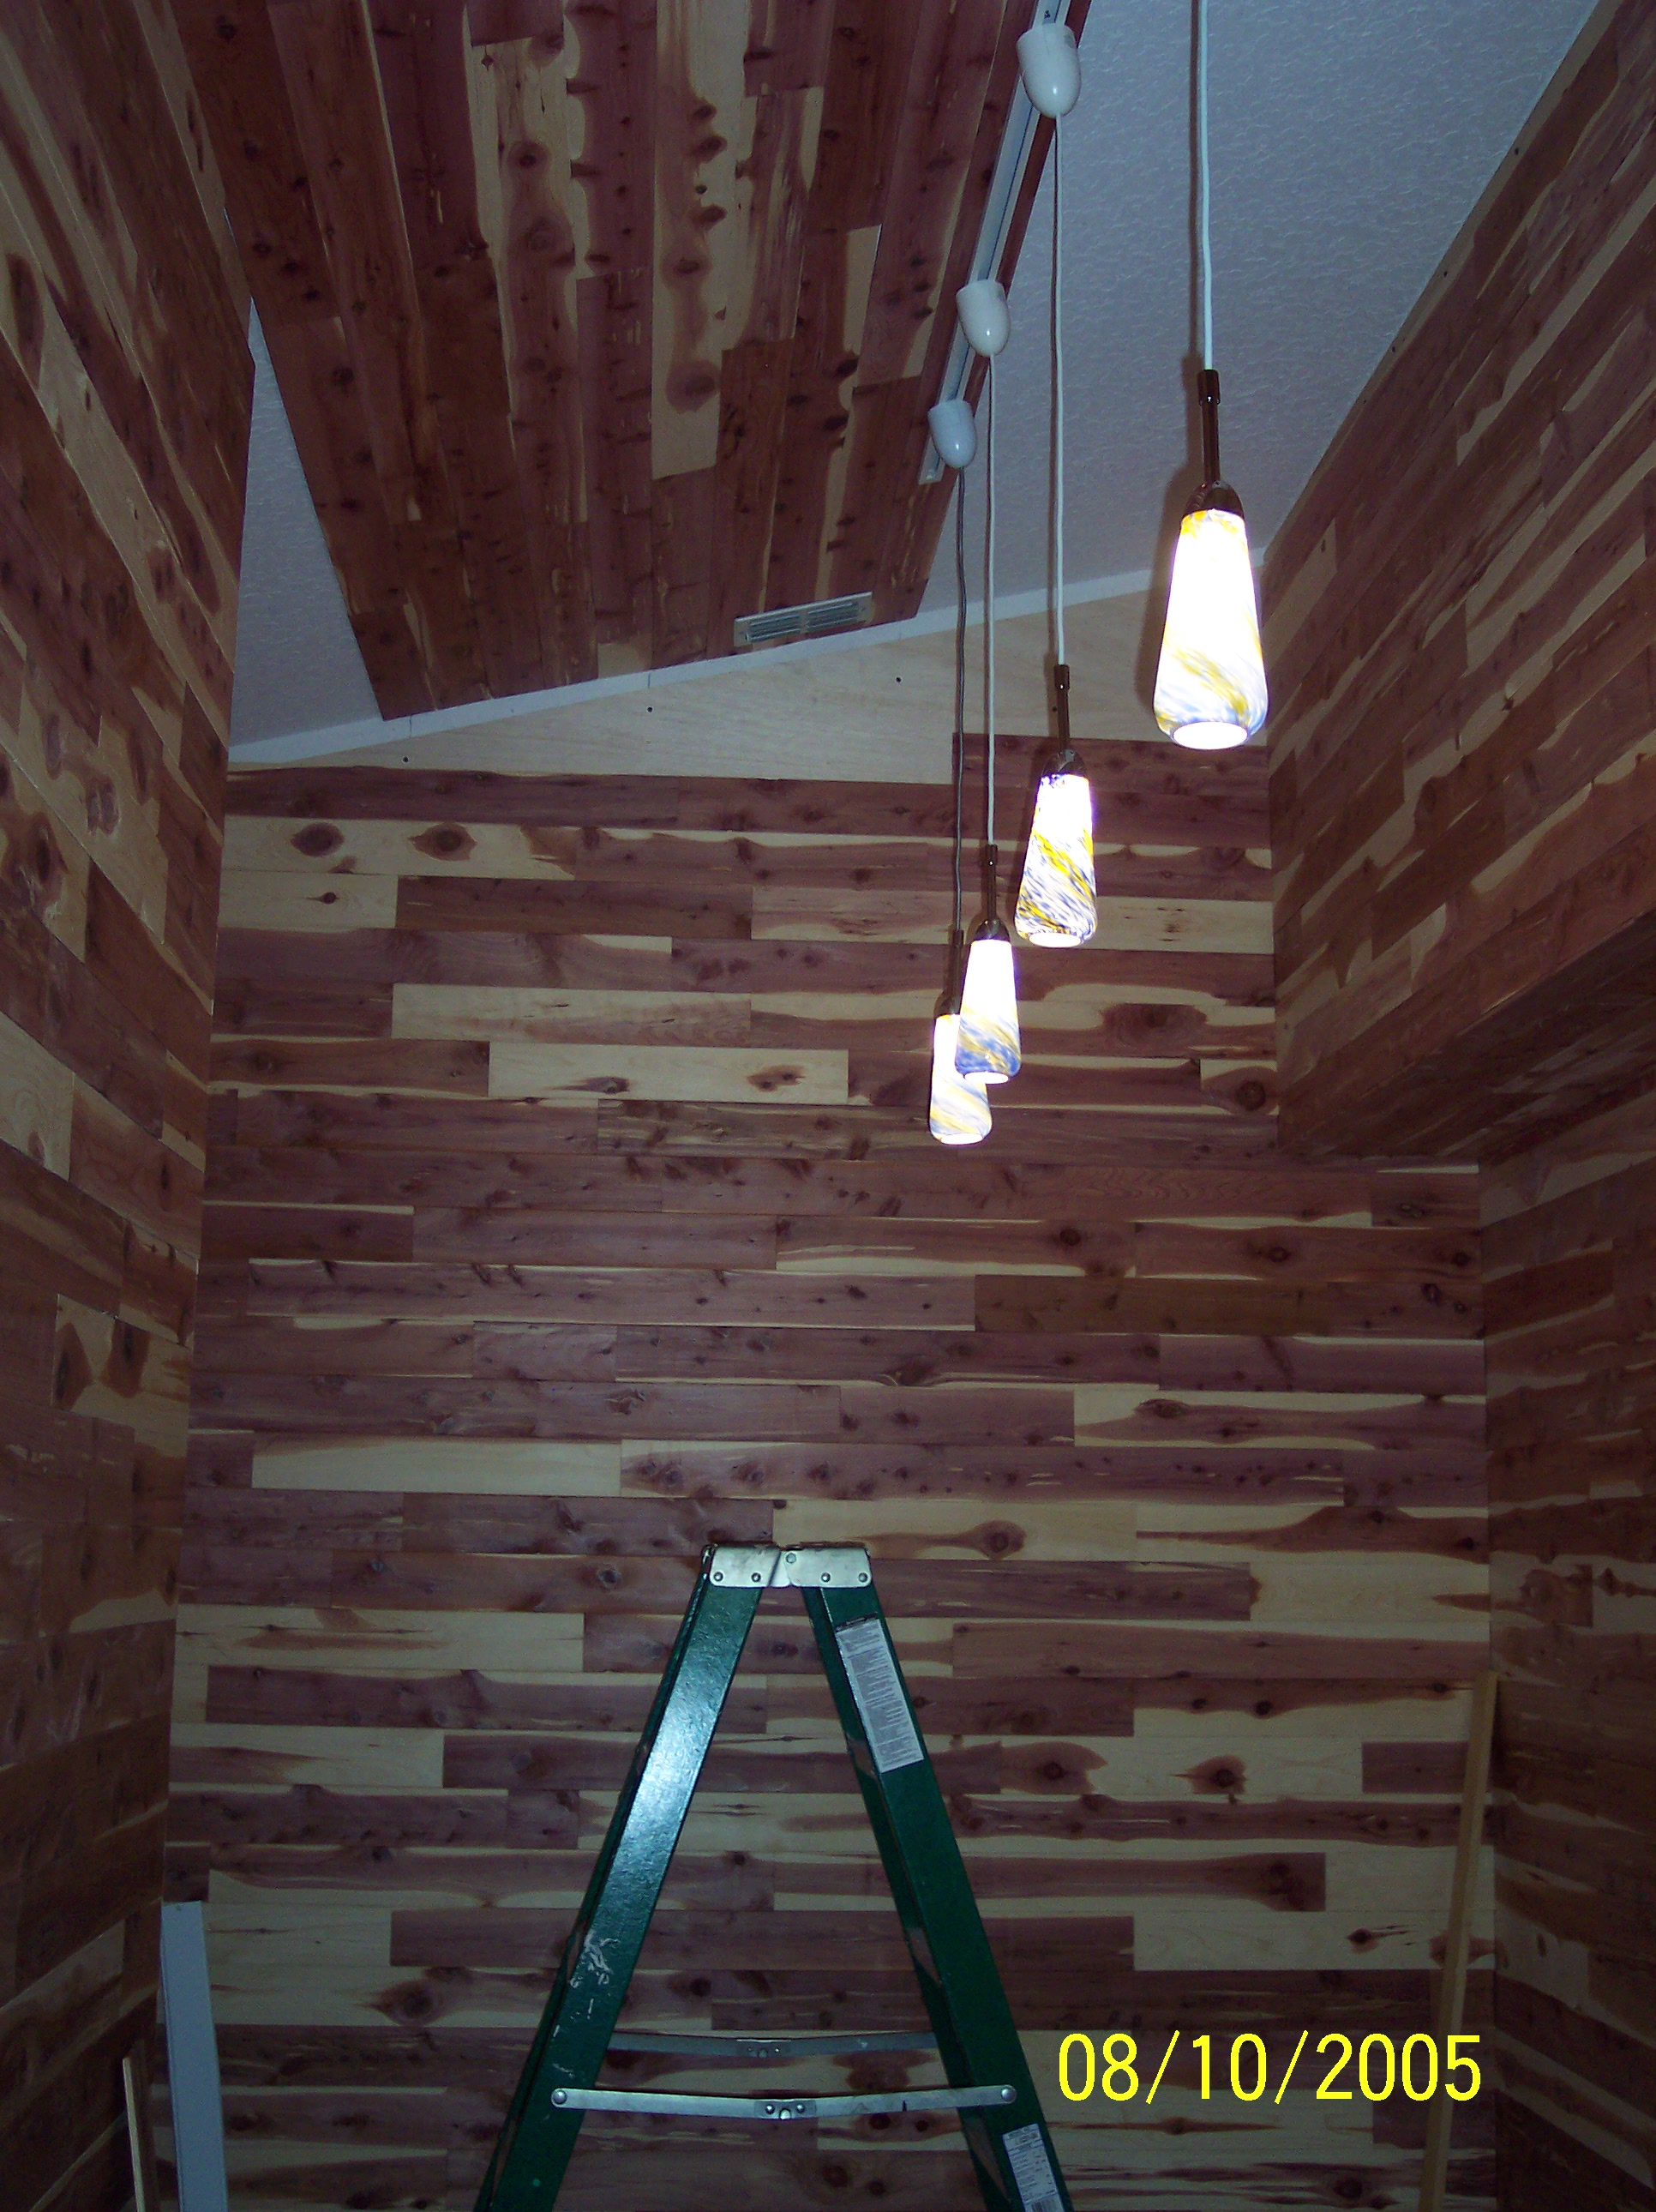
When I reached the lights, it became time to remove the fluorescents, and install the track and pendants.
Starting on the ceiling, and as you can see, it's vaulted! Starting at one edge and working across. The new pendant lights don't put out as much light as the fluorescents, but heck, it's a closet! How much light do you really need? The last thing I did was replace the standard light switch with a motion detector switch that turns the lights on whenever you enter the closet, and turns them off shortly after you leave. It's a great toy!
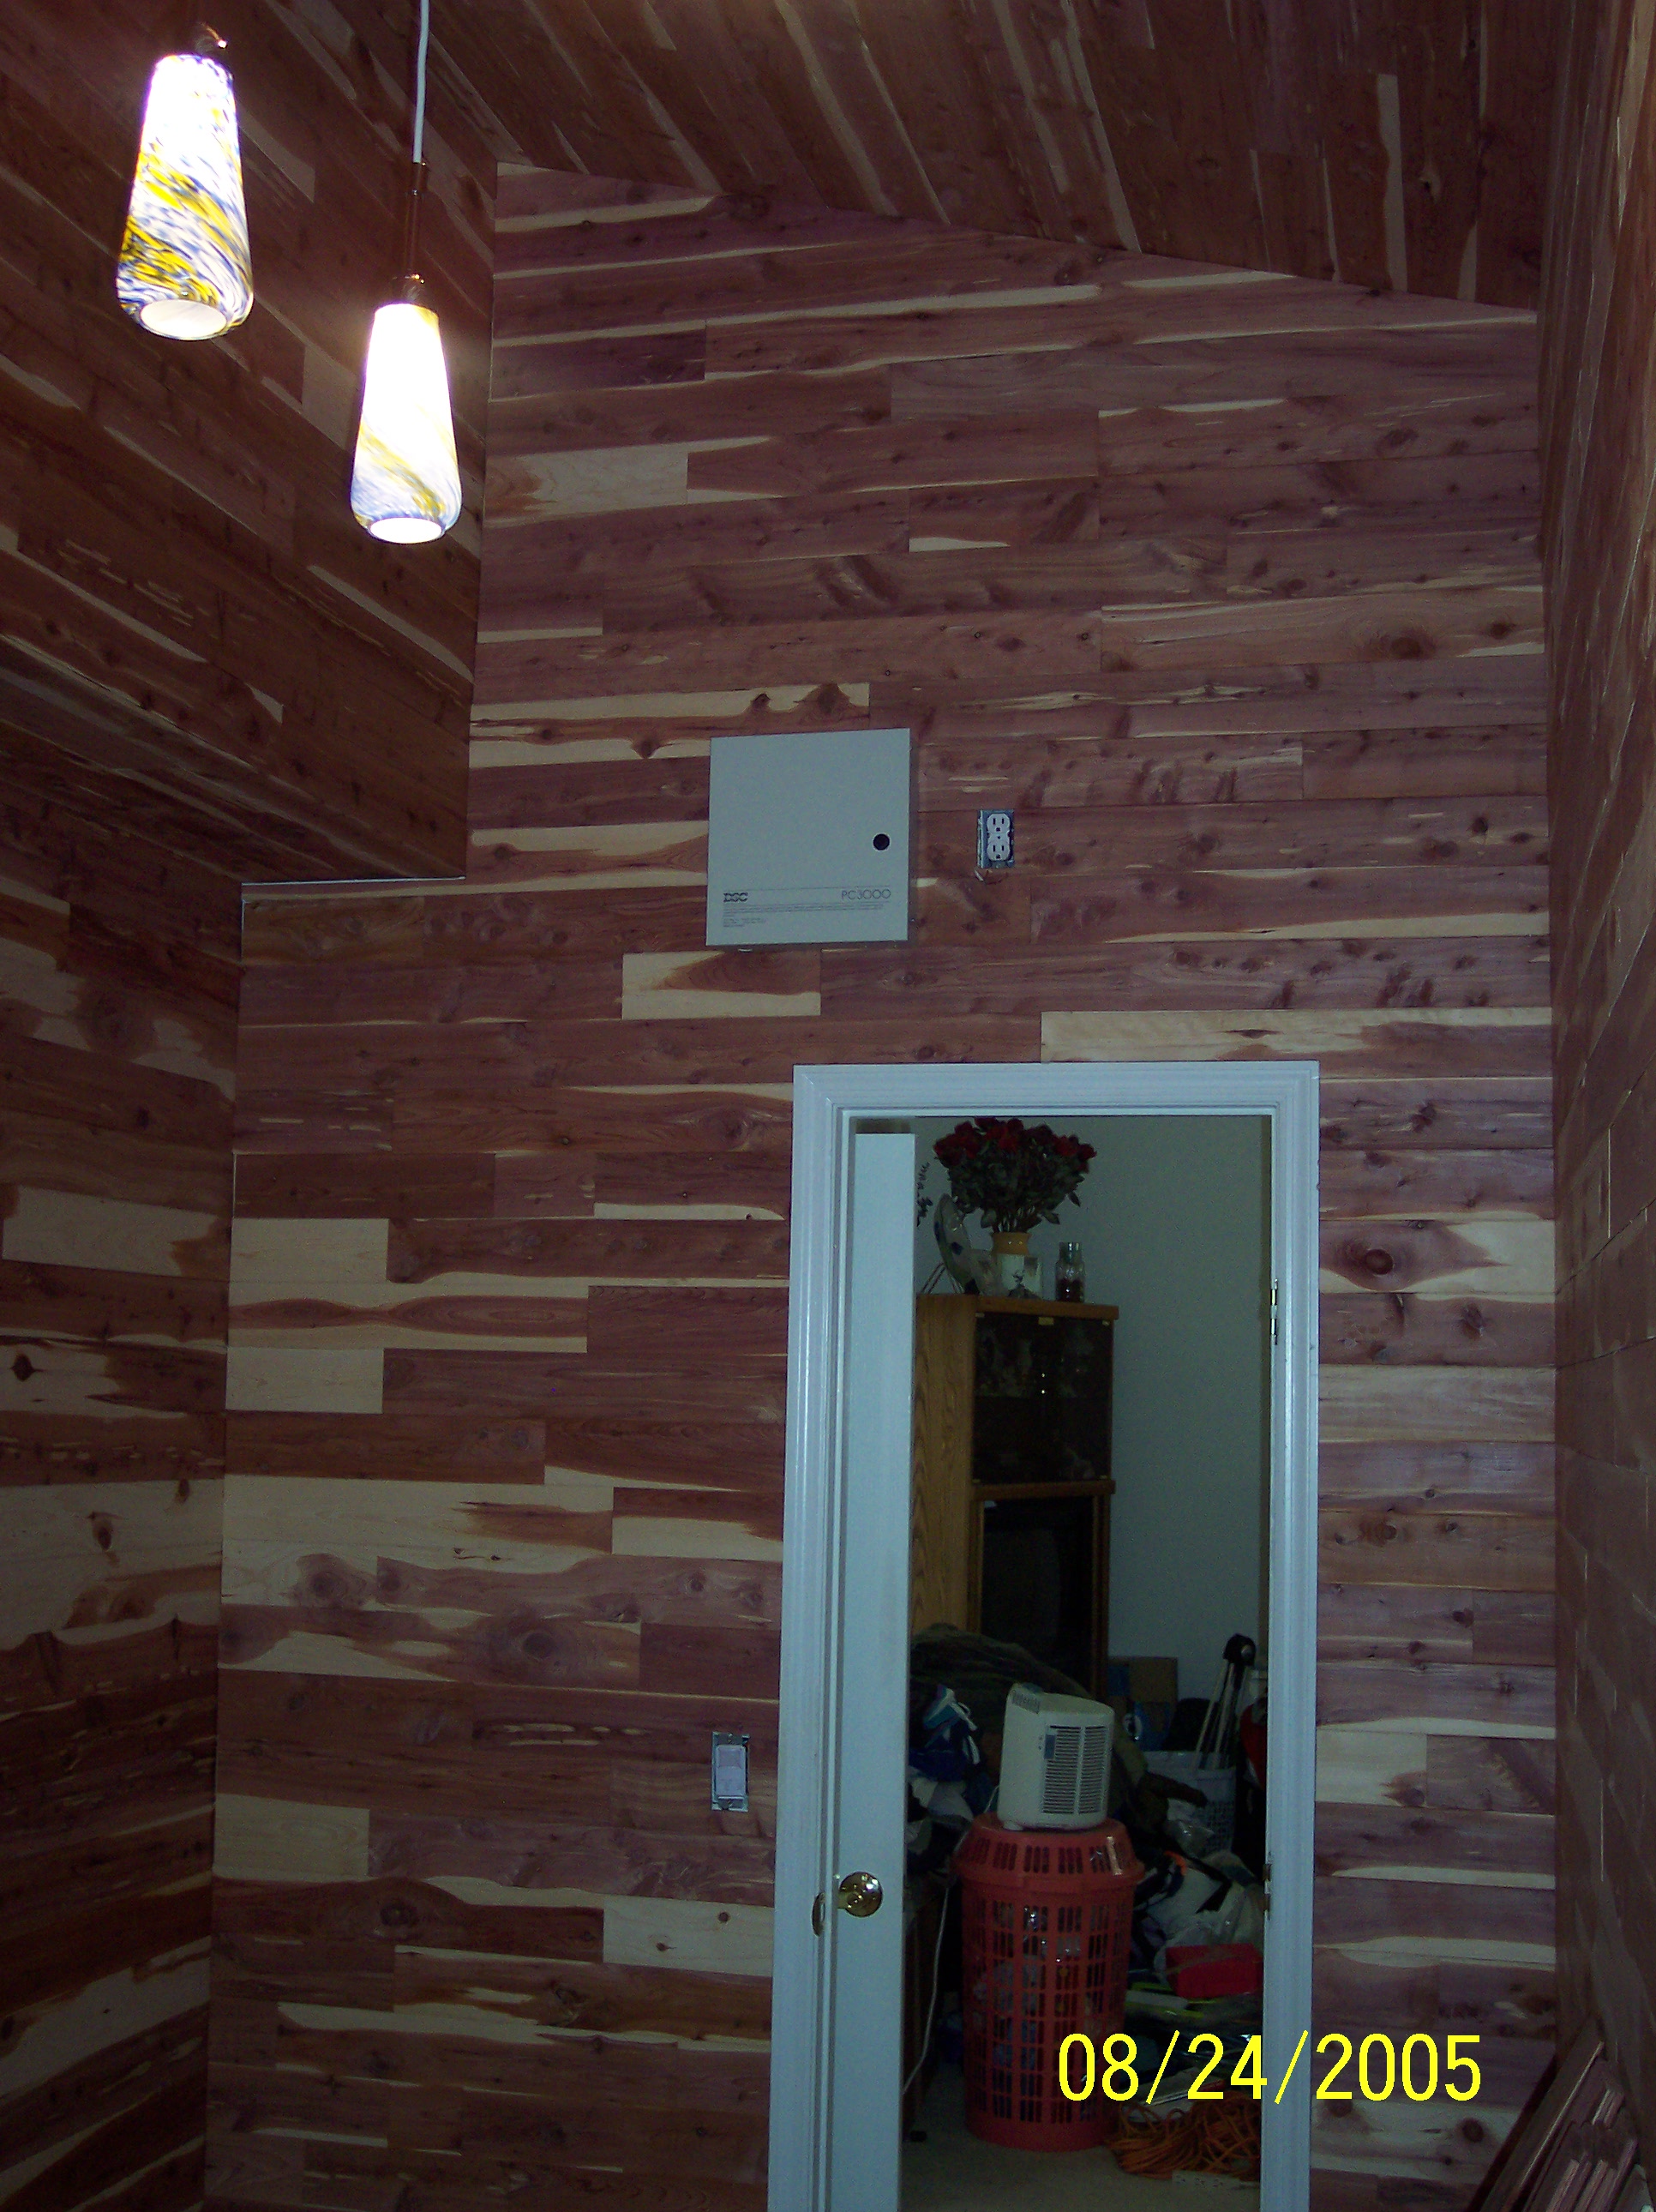
And finally, about three weeks after starting the job, I finally placed the final piece in place. The last pictures here show the results. It smells great too, by the way.
|
This site was last updated 12/18/06