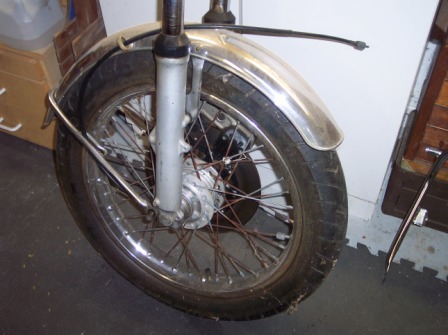

With the front wheel and suspension removed I began the process of evaluating and restoring the front end. I discovered that there must have been an front-end impact since the fork tubes were bent! They had to be replaced, but I also had to evaluate the bottom units for any damage since there's a piston damper that sits inside the bottom sliders.
The spokes are quite rusty and will be replaced with new ones.
The next step is to disassemble the wheel, hub, and fork tubes and evaluate each of them and rebuild or replace whatever is necessary.

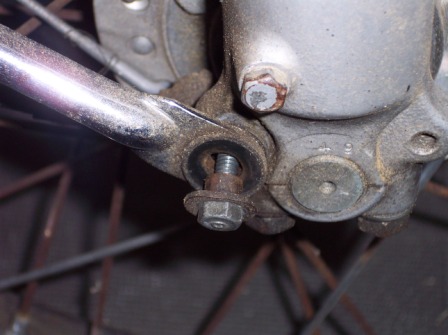
Removing the fender isn't complicated or difficult, this picture is merely for recording the disassembly so that I'm able to reassemble with the proper hardware in place. In this case, there is a hard rubber bushing and a sleeved washer on the fender supports.


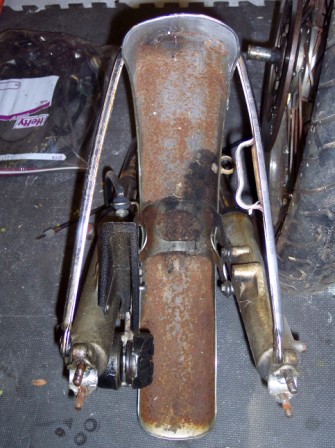
With the front wheel removed I was able to view the condition of the fender on the underside. It's obvious that this bike was quite neglected, or had spent a considerable amount of time in the elements. The rust is extensive, but not very deep. It will have to be media blasted and re-chromed in order to make it serviceable again.
If you look closely, you can see the inside portions of the bottom suspension units also have a considerable amount of grime and corrosion. At this point I'm not sure if I'm going to clean them up and reuse them or not.
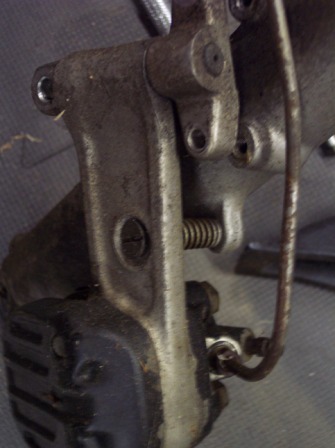
The hardware on the left is the front brake disk shield and caliper. To the right you can see the front caliper mounting assembly before removing from the bottom fork tube. Quite a bit of corrosion and rust. The brake line needs to be replaced, and the spring and bolt that positions the caliper over the brake rotor will be cleaned up and painted.
Breaking down the fork tubes follows: Loosen the top bolt and spring retainer at the top of the fork, then remove the allen-head bolt from the bottom of the fork stanchion.
Then remove the top bolt and spring retainer, and remove the internal progressive spring.
The allen-head bolt removed earlier screws into the bottom of the damper piston, shown below. Now the fork tube can be pulled from the stanchion, the dust boots are slid off, and the damper piston can now be removed from the fork tube out the top. In the lower right picture, you can see the piston washer on the damper that slides up and down the inside of the fork tube during bound and rebound operation.
Now the fork tubes can be removed from the triple tree. As you can see, there is a bit of rust that hampers removal. This is actually a normal occurrence and is even mentioned to be an issue in the Honda shop manual. The pinch bolt is first loosened, and a screwdriver is driven as a wedge to separate the clamp.
There is a rubber washer on the headlight ears on both the wide bottom, and the narrower top part of the ears. The bottom one has to be pried out in order to slide the chrome ears from the triple tree. Once done, the triple tree sits alone and ready to be bead-blasted and painted. I'll also check the bearing surfaces to make sure they are nice and smooth.
Below left is one of the lower fork tubes as it appeared after removing it. You can see the corrosion, and areas where the lacquer clear-coat has come off. Placing them in my solvent bath overnight loosened the remaining clear-coat so I could easily remove it with sandpaper and steel wool. Below on the right I'm using 600 grit wet-or-dry paper to smooth the surface, and I progressed to 1500 grit, and finally 0000 steel wool with Autosol metal polish.
The finished product below...and the before and after shots.